ReadyToSign is an AI-powered e-signature tool built specifically for real estate agents. It scans your transaction documents, automatically detects every signature, initial, and date field, and assigns them to the right person — so a full package can be ready to send in minutes instead of hours.
This first tutorial walks you through creating an account and watching the AI tag your first document package.
1. What is ReadyToSign?
ReadyToSign automatically detects signature fields in real-estate documents and prepares them for signing. Two things make it different from generic e-sign tools:
- Built for real estate. It recognizes the forms agents actually use — purchase agreements, disclosures, addenda — and knows the roles that sign them.
- Pick your signature service. You can send through BoldSign (included free with every plan) or connect your existing DocuSign account. Your documents stay secure either way, and pricing is fully transparent.
2. Create your account
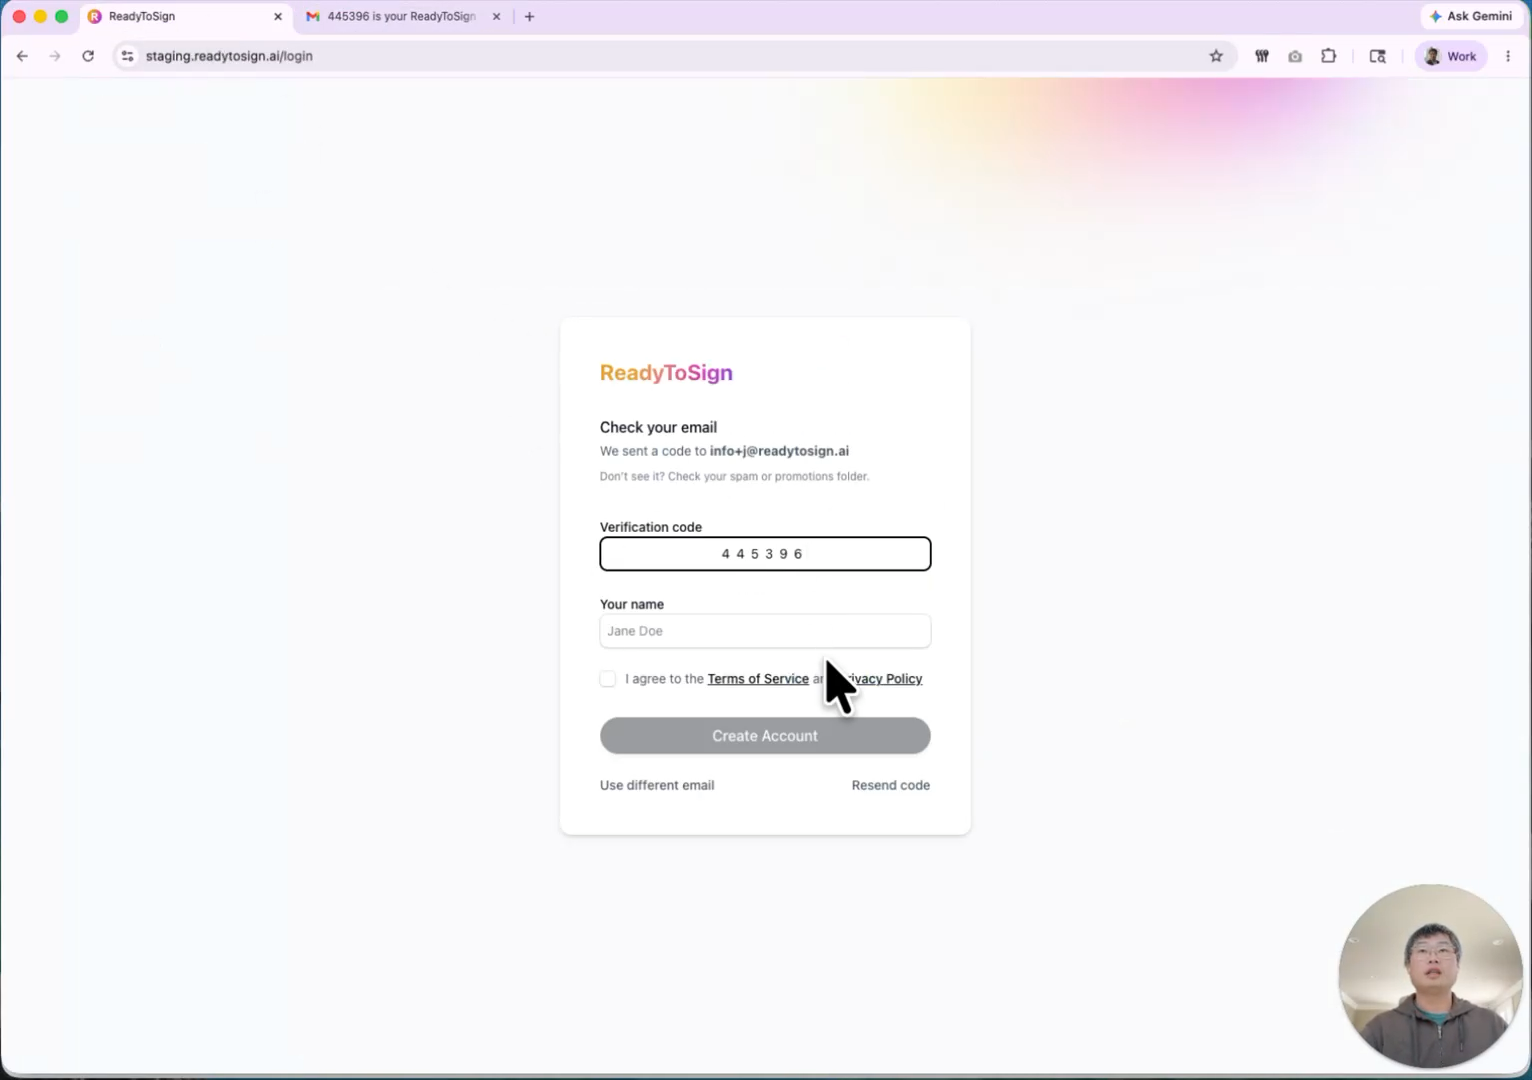
ReadyToSign uses passwordless sign-in — no passwords to remember or reset.
- From the homepage, click Sign up.
- Enter your email address.
- Check your inbox for a 6-digit passcode and paste it into the sign-up screen.
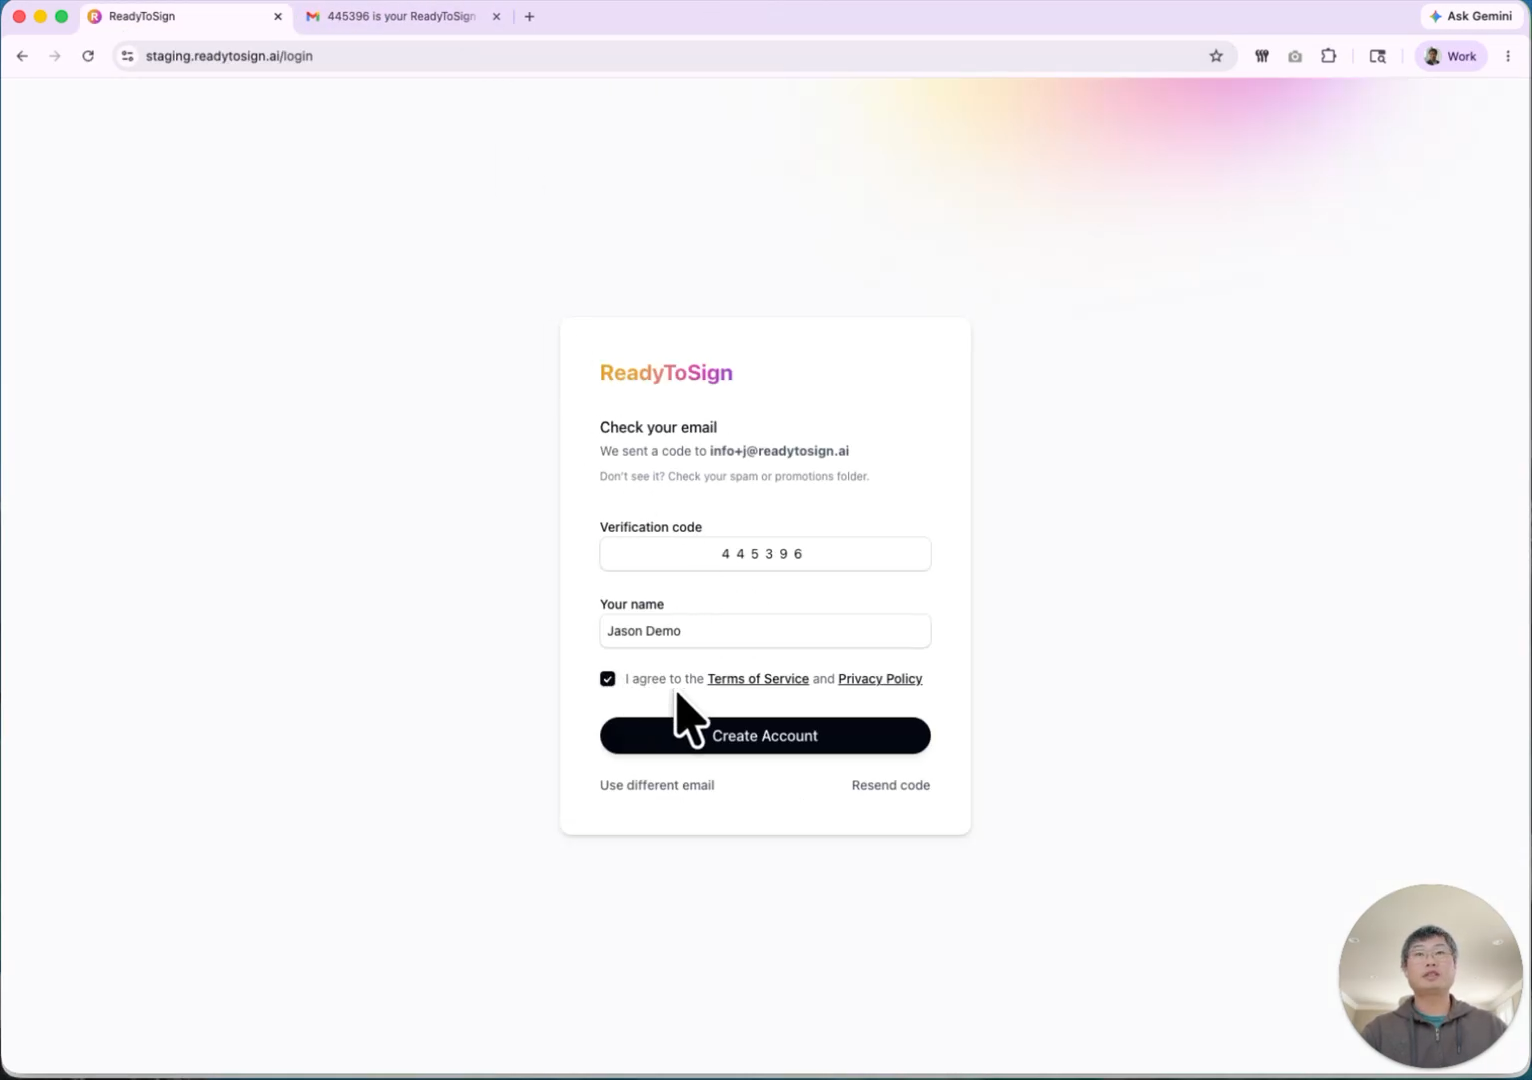
3. Set your name and accept the terms
The first time you sign in, ReadyToSign asks for a few details:
- Enter your first and last name — this is what appears on documents you send.
- Review the Terms of Service and Privacy Policy.
- Check I agree and click Create account.
You’ll land on your dashboard, ready to upload your first package.
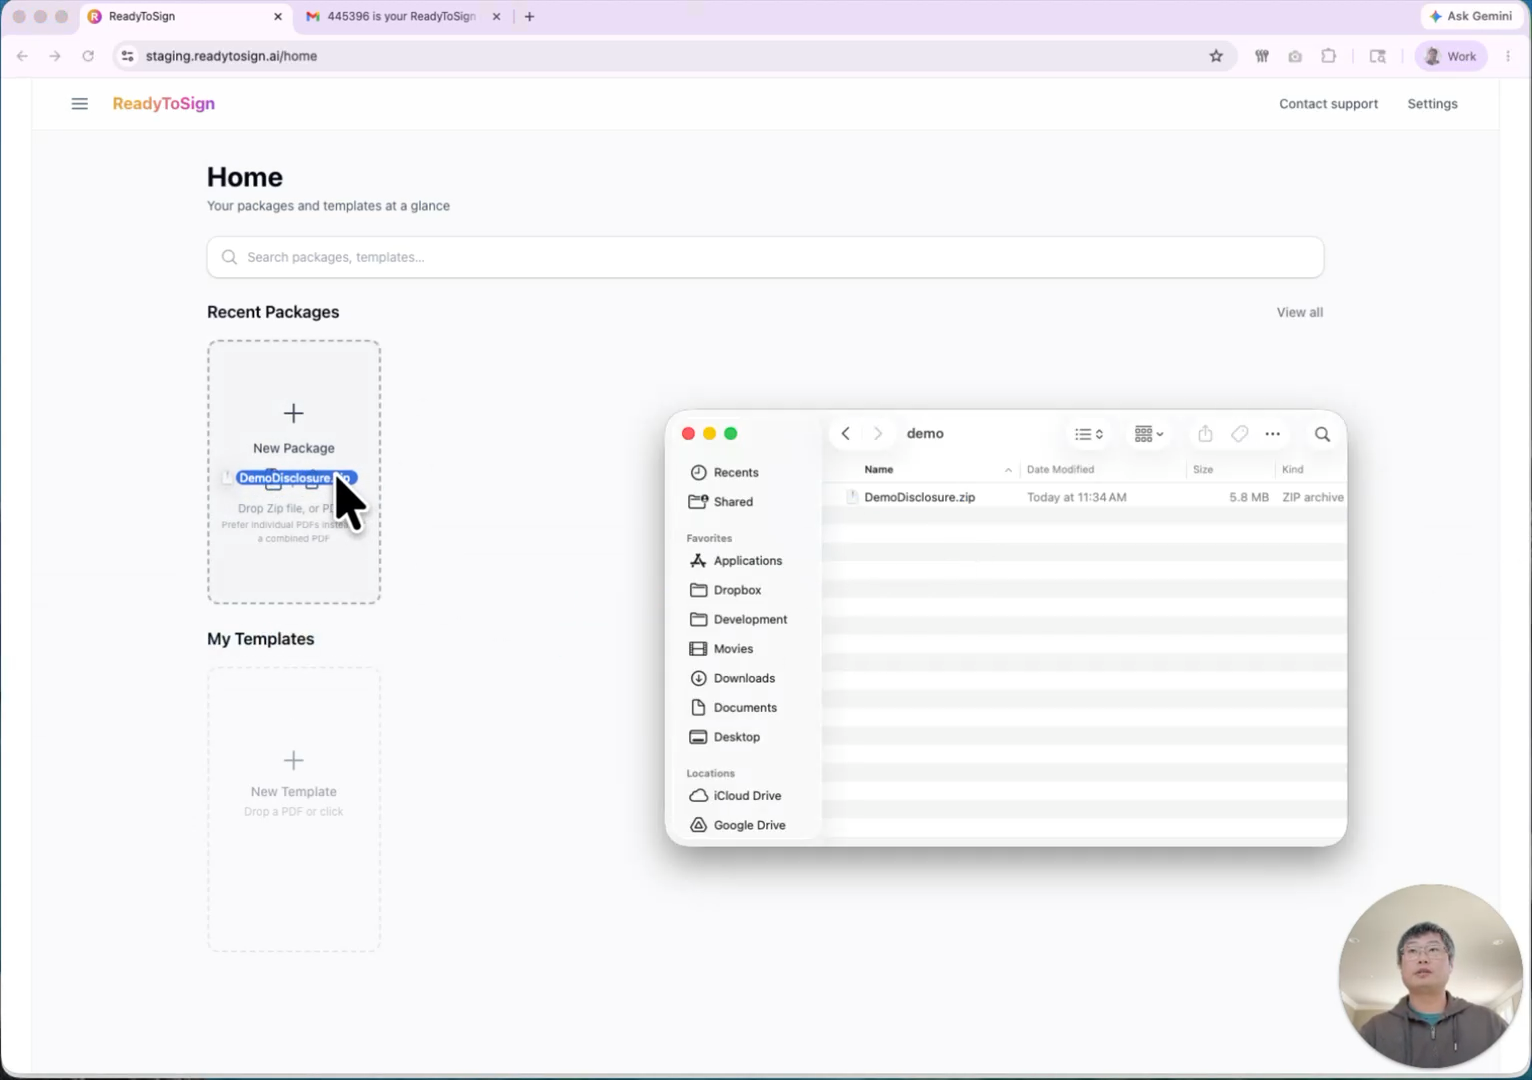
4. Upload your first document package
A package is a group of related documents that get signed together — for example, a full buyer’s offer with disclosures and addenda.
- From the dashboard, drag a ZIP file, a folder, or a list of PDF files onto the upload area. ReadyToSign accepts both.
- If you upload a ZIP, ReadyToSign automatically unpacks it and identifies every file inside.
5. Name the package and add signing roles
After the upload finishes, ReadyToSign asks for two things:
- Package name — usually the property address or transaction reference.
- Signing roles — who needs to sign. Defaults cover the common case (e.g. two buyers, one buyer agent), but you can edit them.
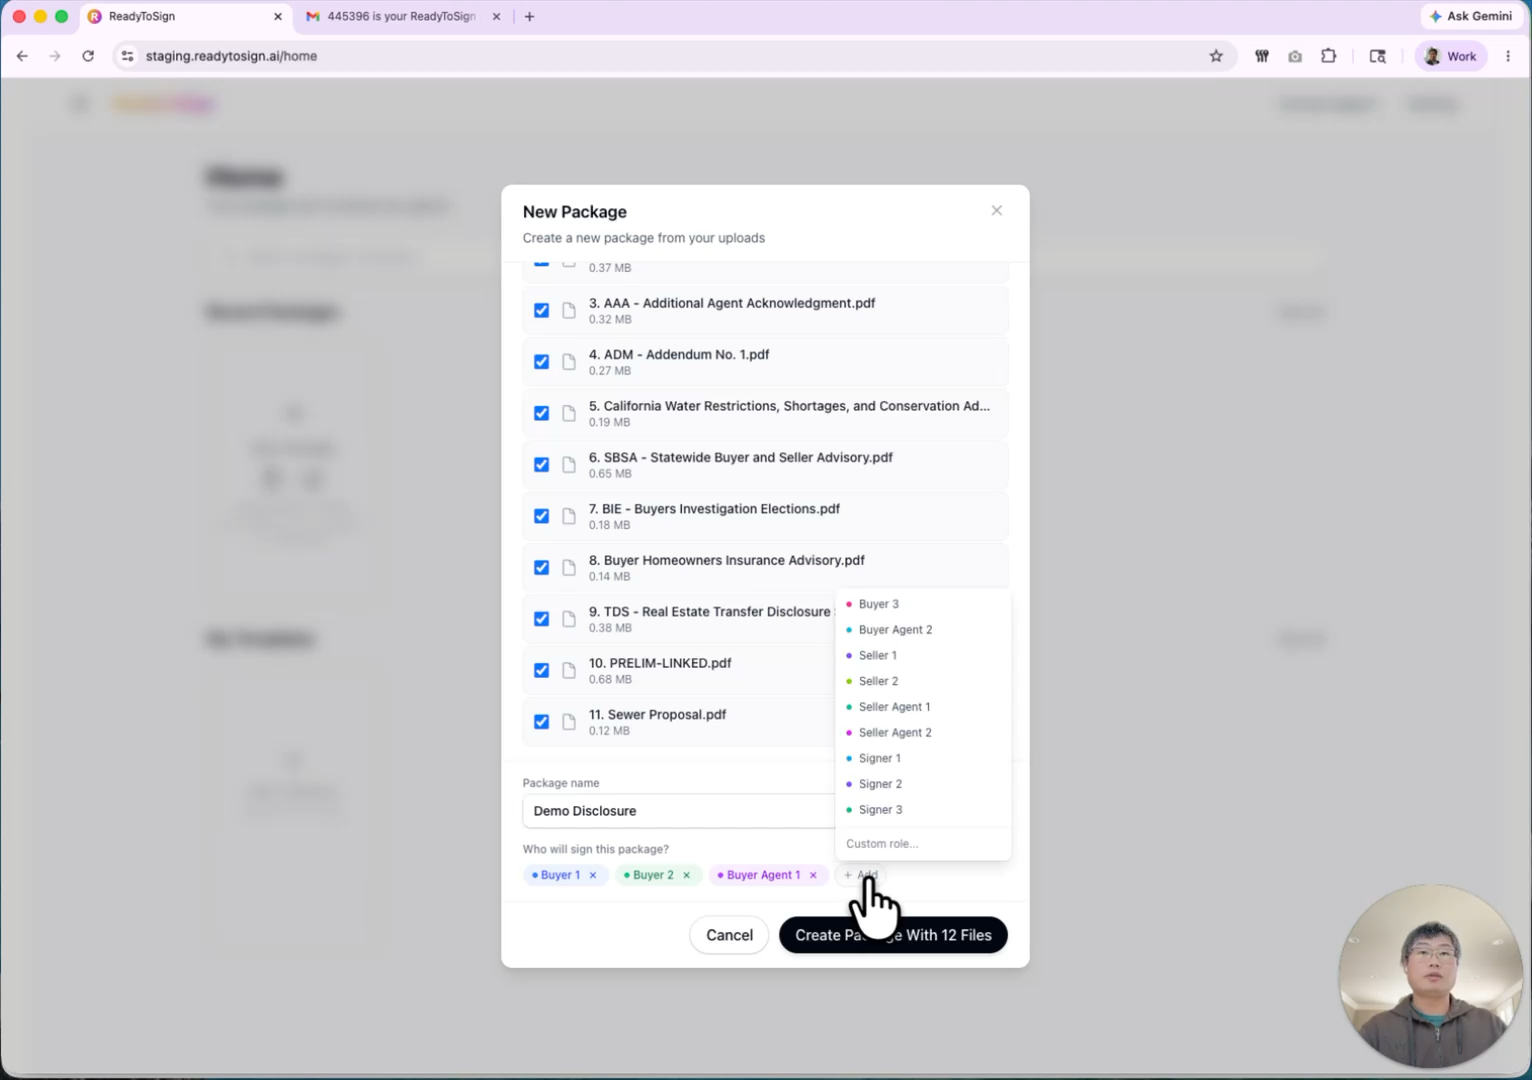
If your transaction needs additional signers — say, two buyer agents instead of one — click + Add role and choose the type. You can adjust roles later too, so don’t worry about getting it perfect on the first pass.
When the roles look right, click Create package.
6. Let the AI tag your documents
This is where ReadyToSign earns its name. As soon as you create the package:
- All files upload to a secure server.
- The AI scans every page and detects signature, initial, and date fields.
- Each field is automatically assigned to the right role based on context.
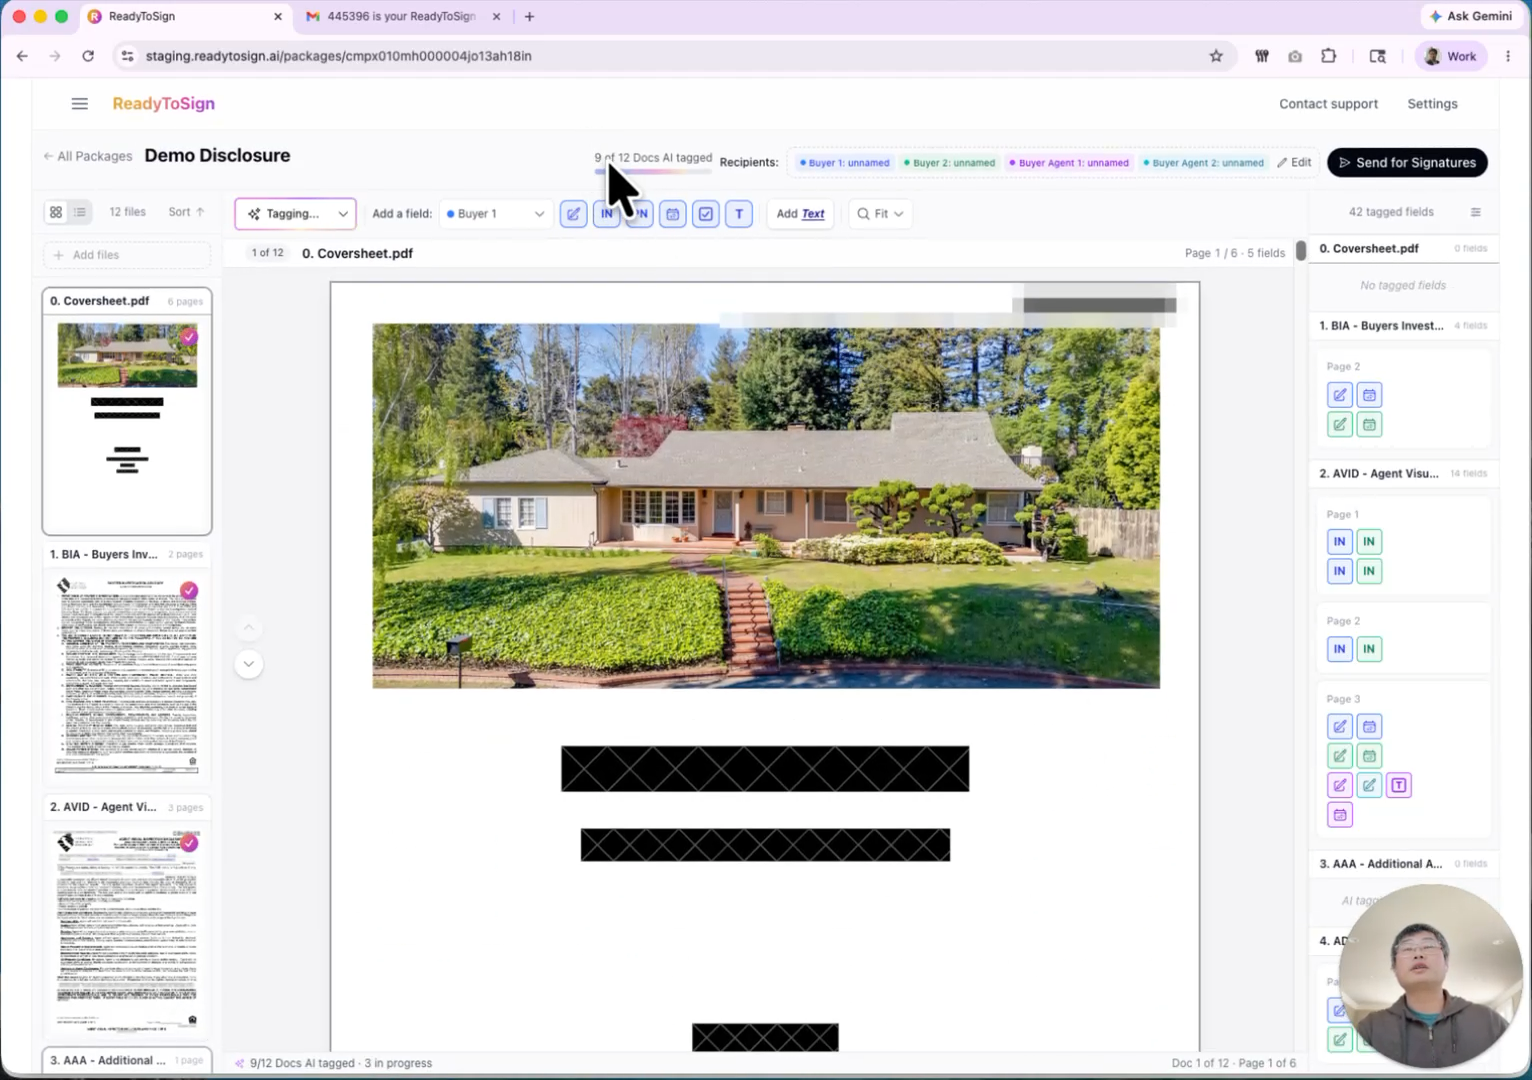
In this demo, the AI tagged 12 documents in the time it took to explain what was happening. You’ll see them appear ready-to-review in the next screen.