The AI does the heavy lifting, but you stay in control. After ReadyToSign tags your package, the review screen lets you jump between every field, edit signers, fix anything that’s wrong, and add fields the AI couldn’t see — usually in a fraction of the time it would take to tag from scratch.
This tutorial walks through the review layout and every editing tool you’ll use before sending.
1. Tour the review layout
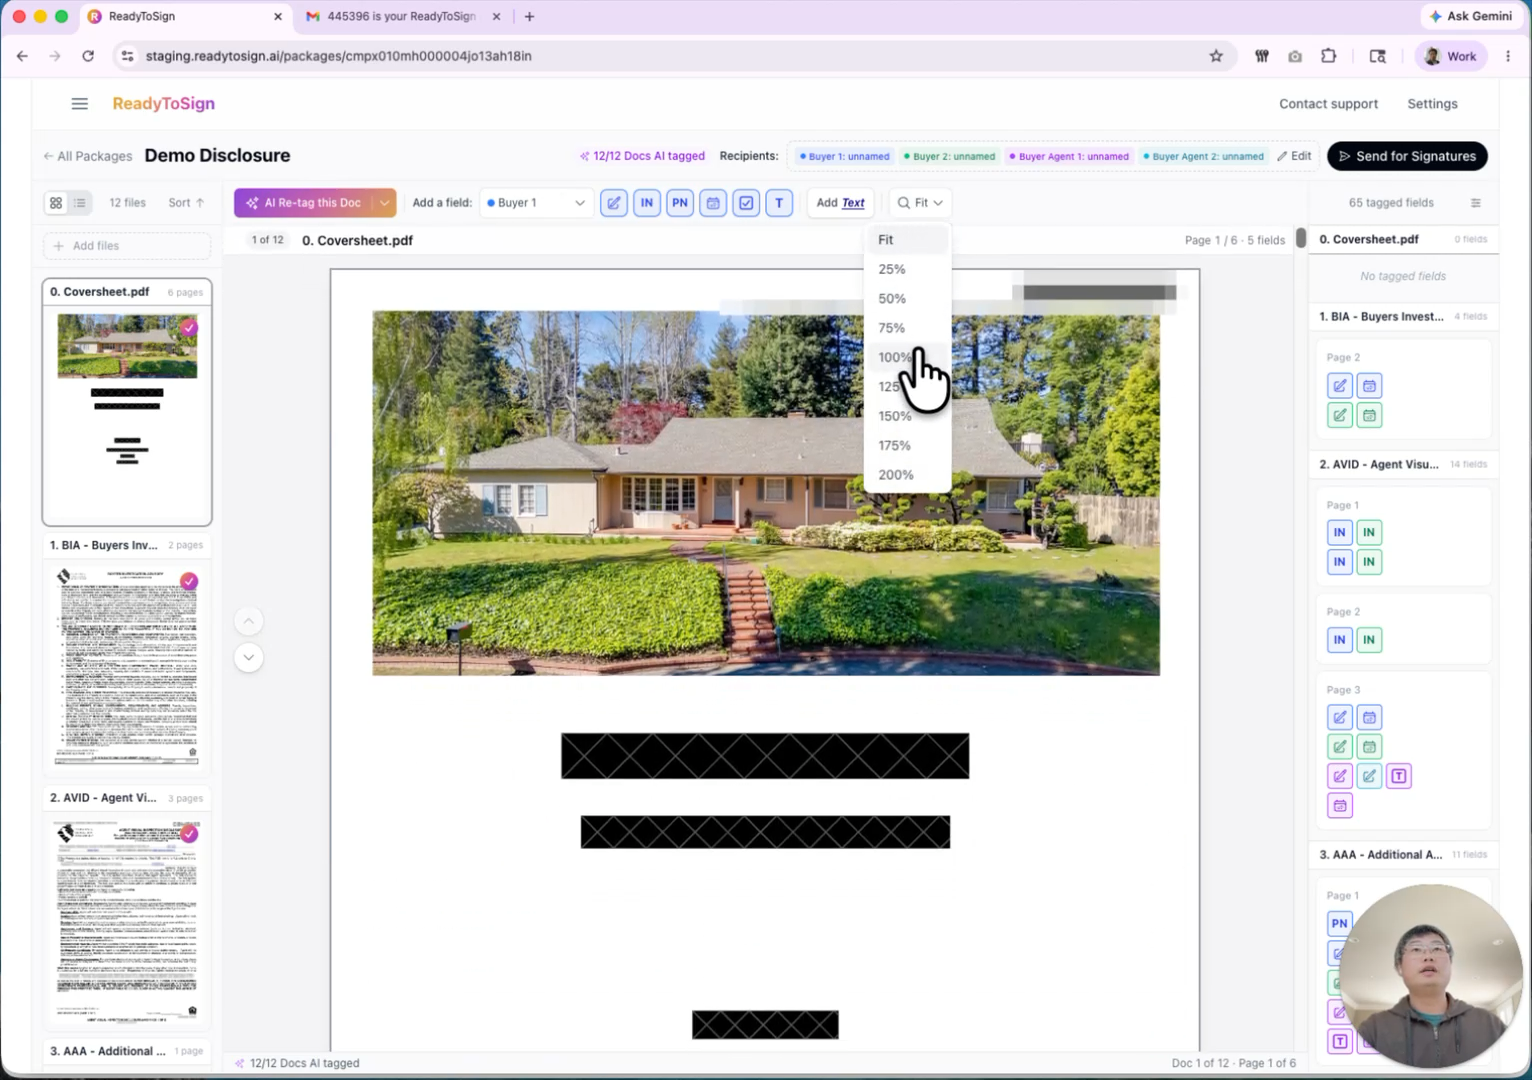
The review screen has three panes:
- Left — Document navigation. Every file in your package is listed here. Click any document to smoothly jump to it.
- Center — PDF view. The main canvas where you review and edit. Use the zoom control to size the page to your screen — 100% works for most people, a little larger if you want more detail.
- Right — Tagged fields. Every field the AI detected, grouped by document and page. Click any entry to jump straight to that field in the PDF.
The editing toolbar sits across the top of the PDF view — we’ll come back to it in step 6.
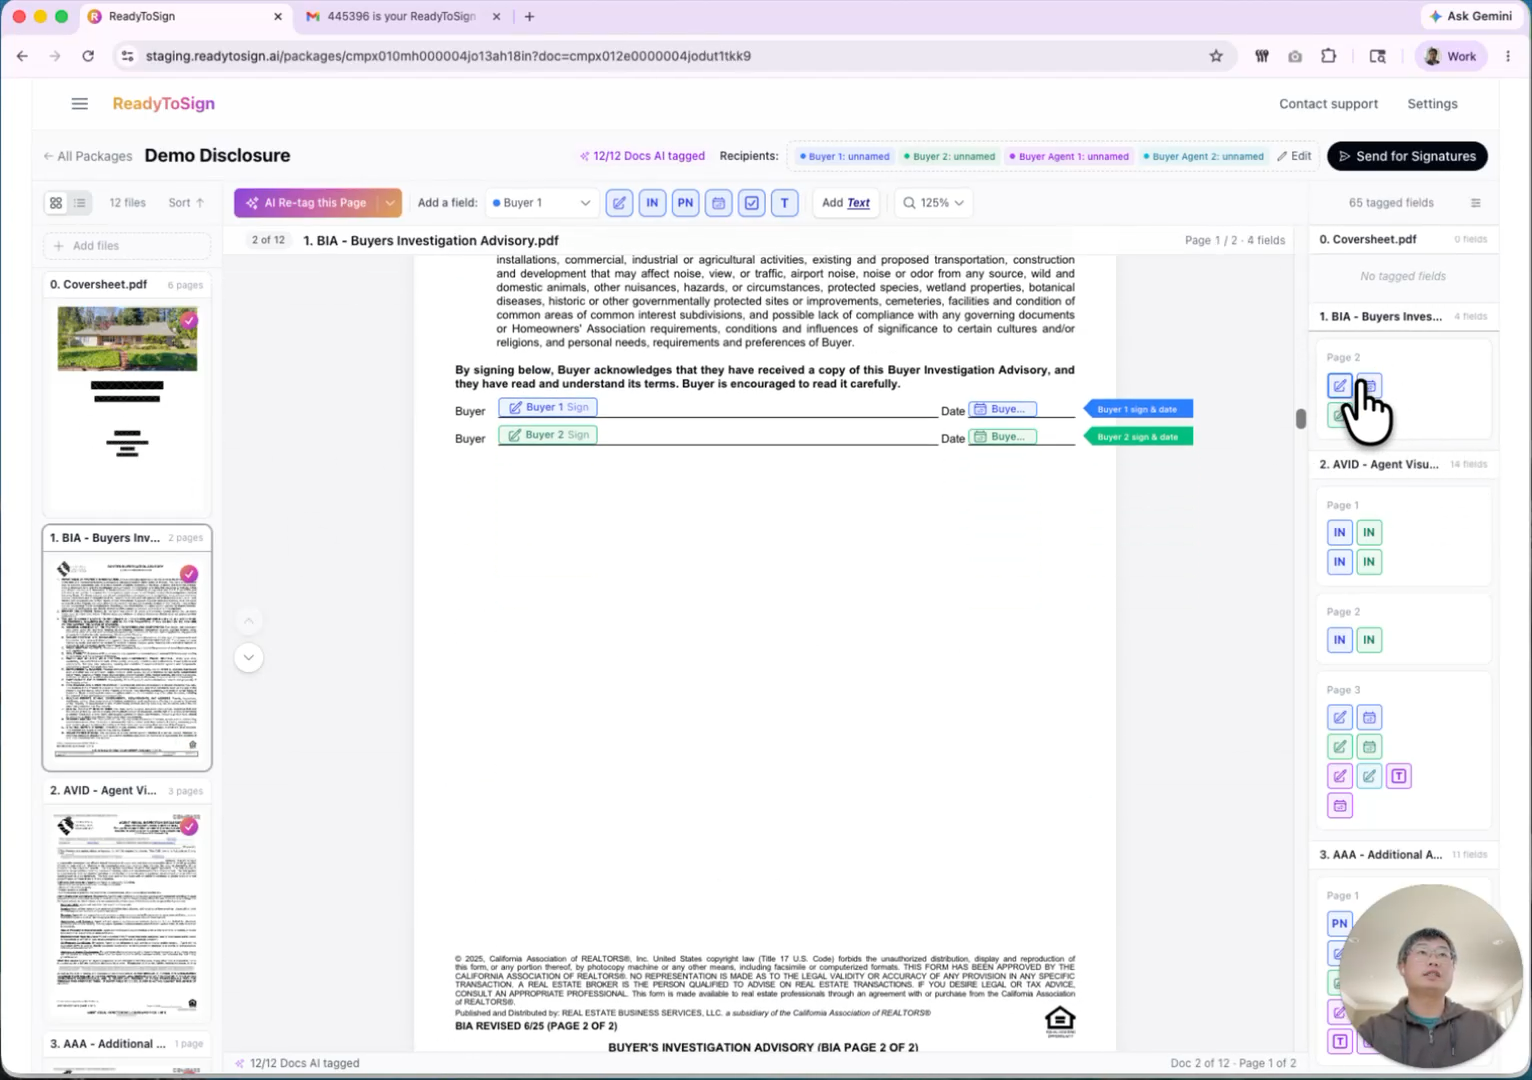
2. Review AI-tagged fields
The right-hand list is the fastest way to audit what the AI did:
- Click a field entry on the right — for example, “Page 2 of BIA — buyer date”.
- The PDF jumps to that page and highlights the field.
- Confirm it’s in the right place and assigned to the right person.
More complex forms — like the AVID — show how much the AI handles automatically. On a single page, you’ll see the buyer’s date and the buyer agent’s brokerage name already filled in.
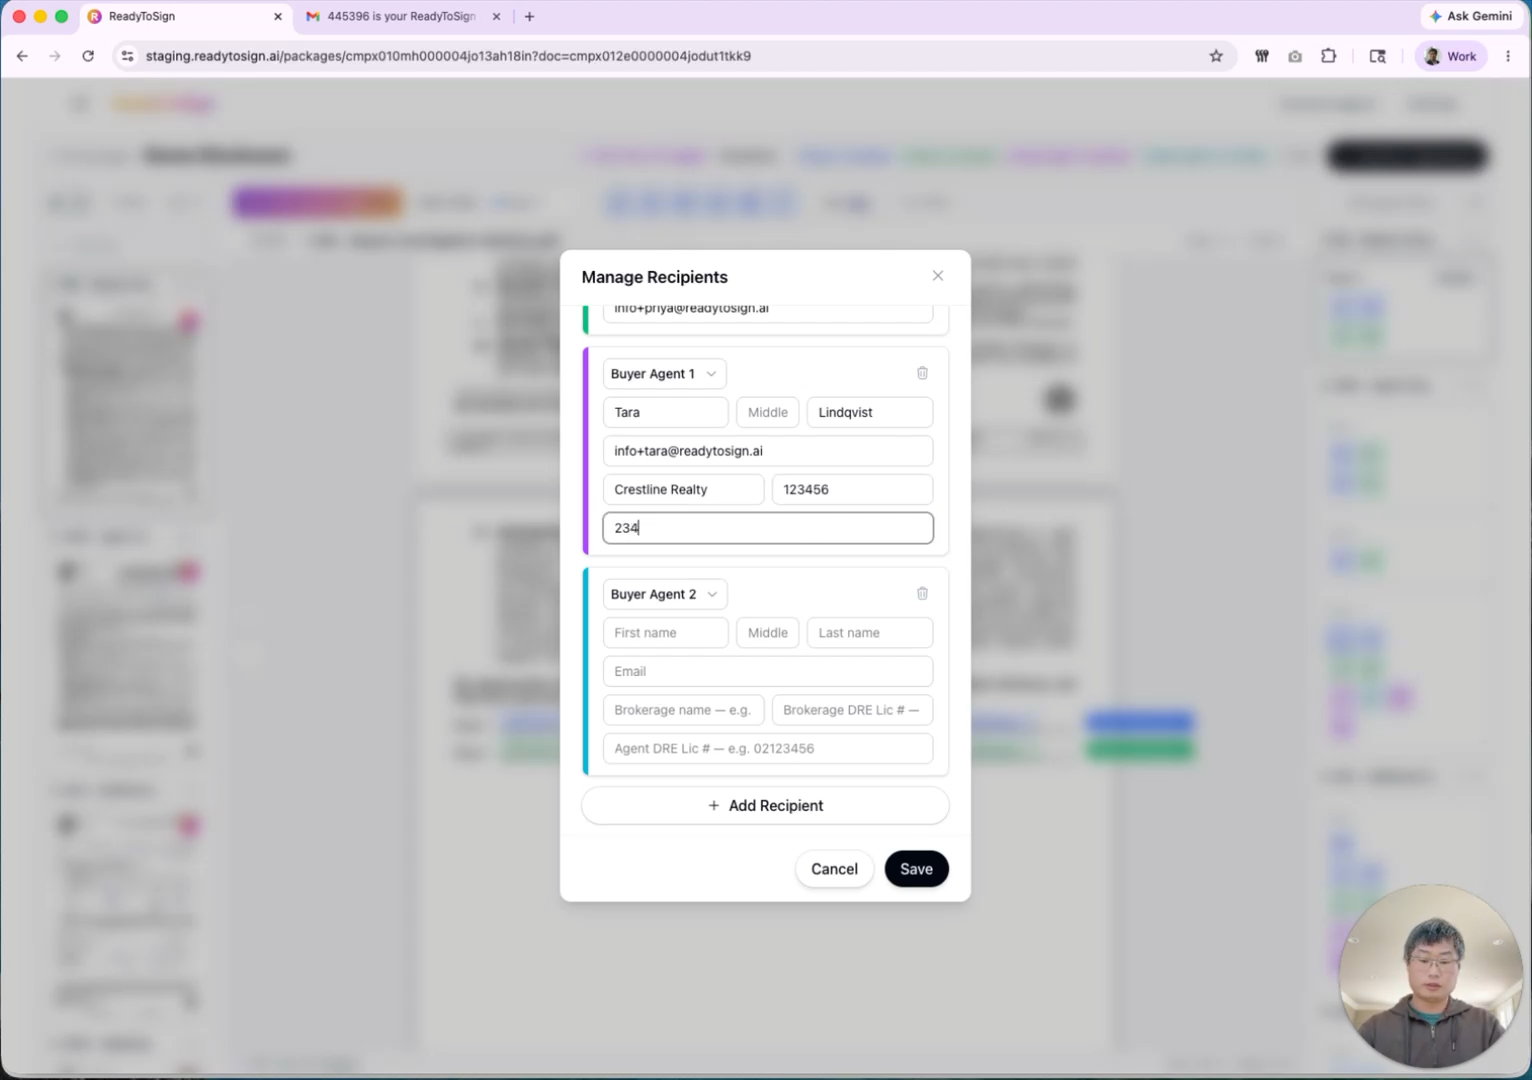
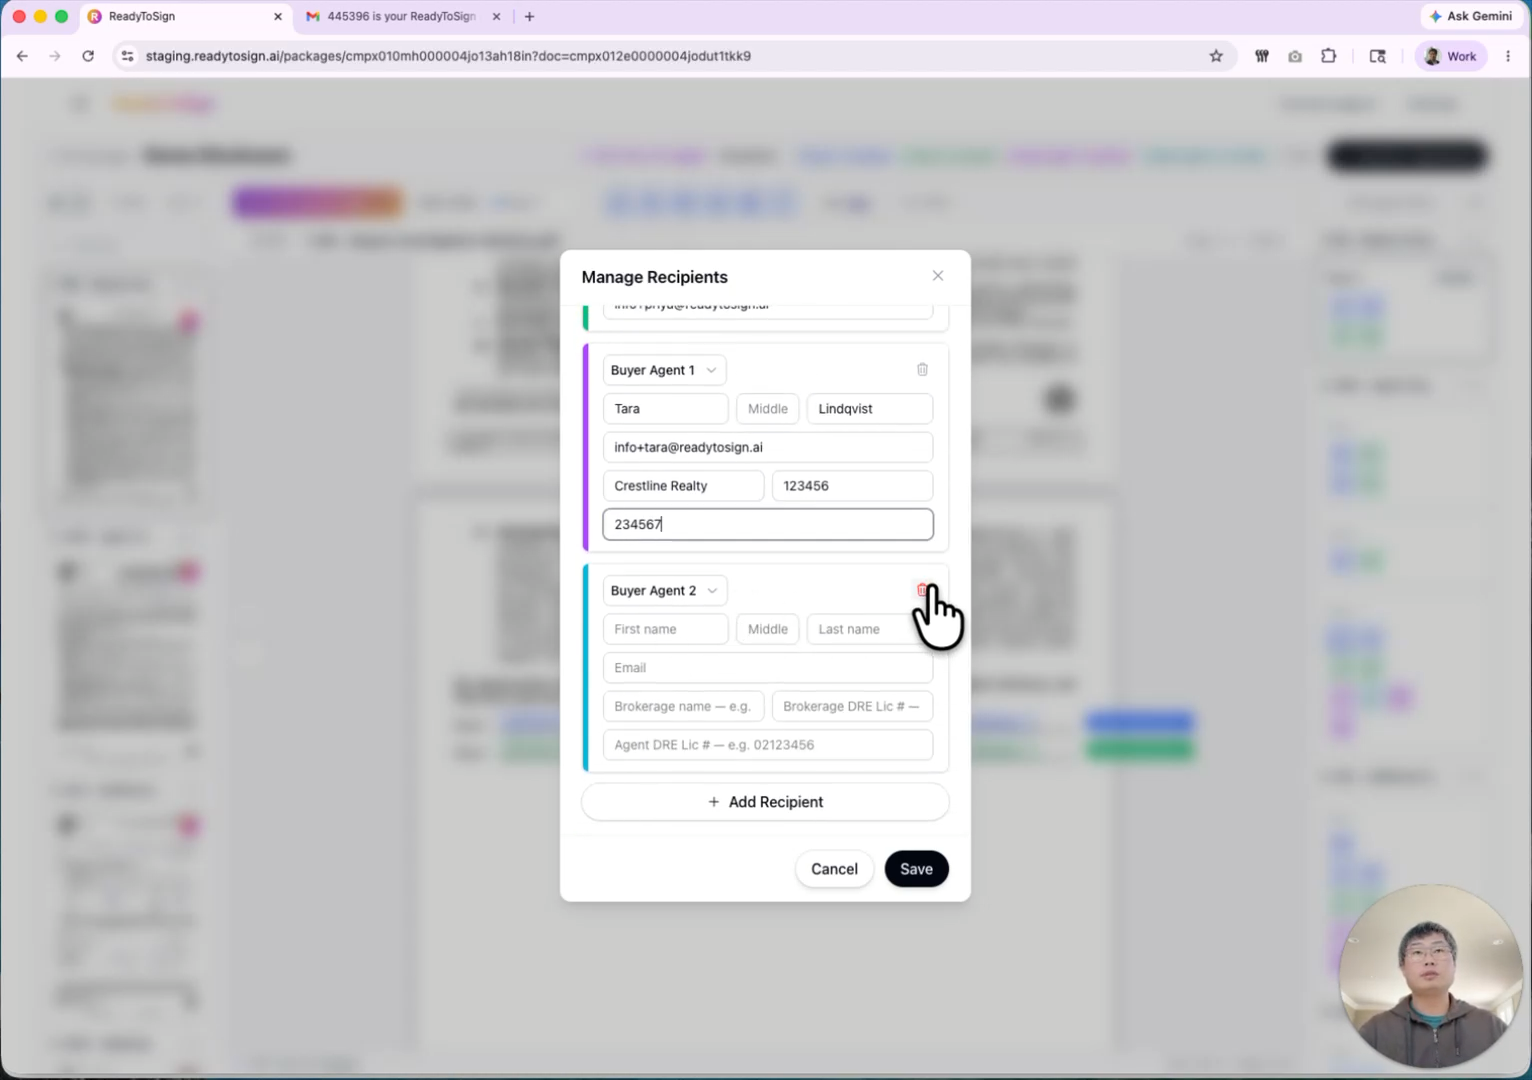
3. Add recipient names and brokerage details
Up to this point your signers are placeholders (Buyer 1, Buyer Agent 1, etc.). Now’s the time to provide actual names and emails.
- Click a signer on the right-hand list.
- Enter the recepient name.
- For agents, enter the brokerage name and brokerage DRE number.
- Click Save.
4. Remove or change a signer
If your transaction has fewer signers than the default — for example, only one buyer agent instead of two — you can remove the extra one:
- Click the signer to edit.
- Click Remove and Save.
Every field assigned to that signer is removed automatically across all documents. Fields assigned to other signers stay exactly where they are.
5. Fix tags the AI got wrong
Two situations come up most often:
Delete an unwanted field. Select the field in the PDF and press Delete. You can multi-select to delete several at once.
Reassign a field. Click the field to open its popup — it shows what kind of field it is (signature, date, initial, etc.) and which signer it belongs to. Change the assignment from the dropdown.
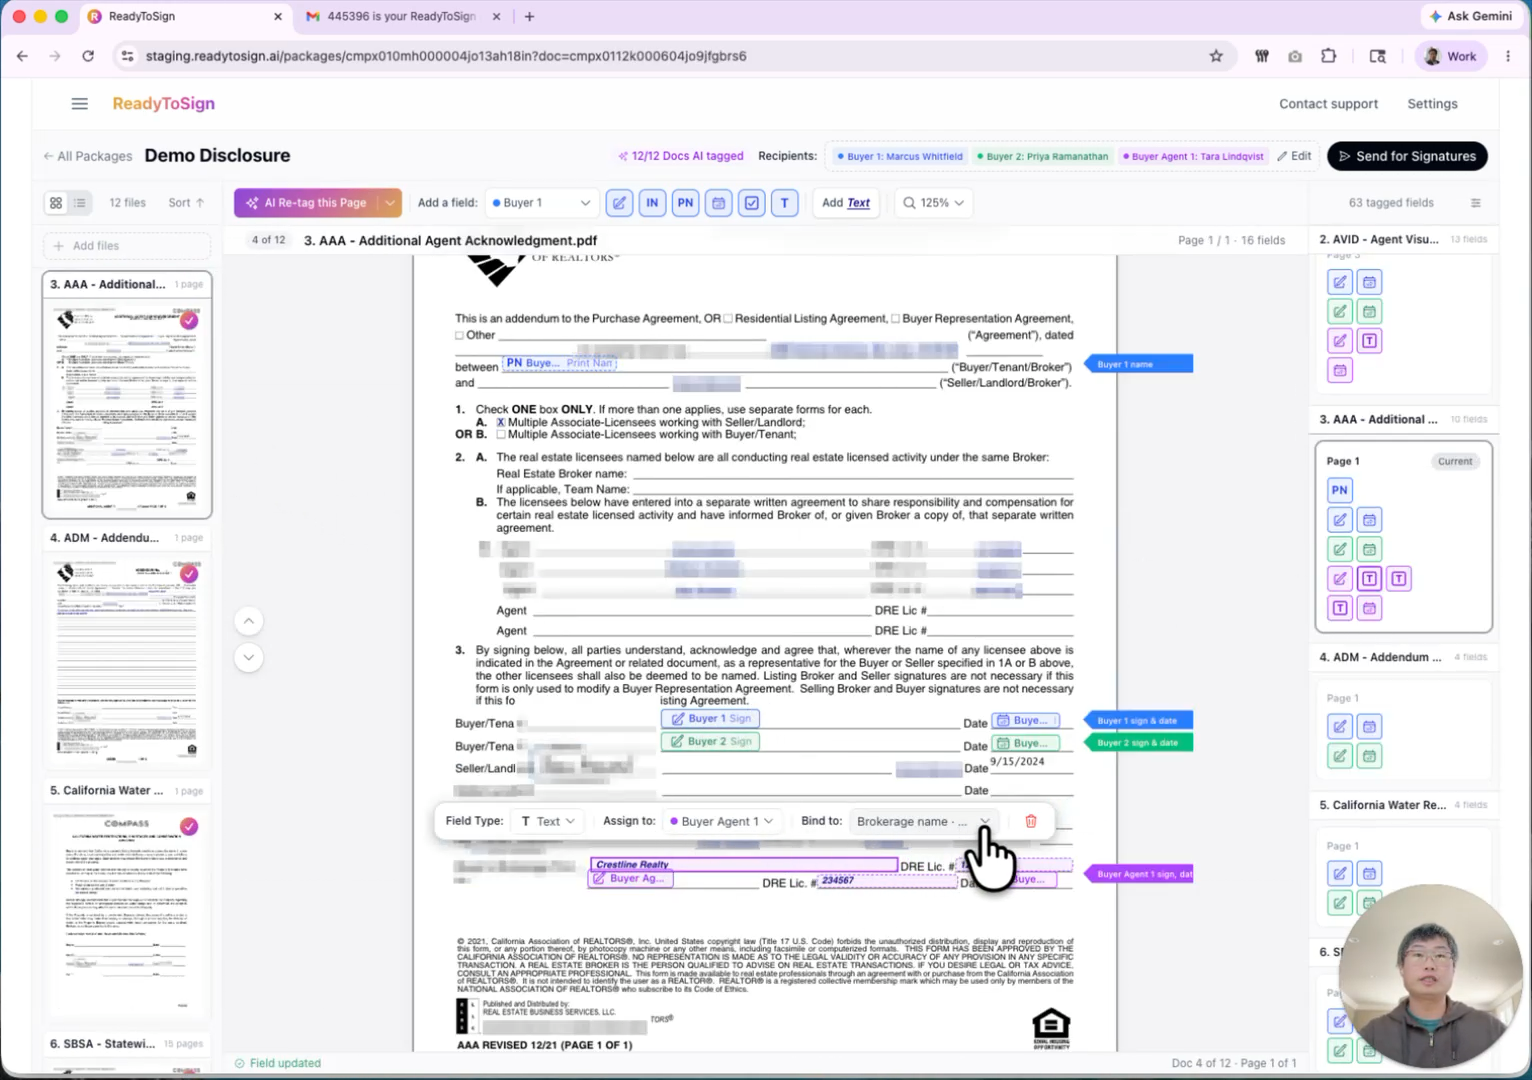
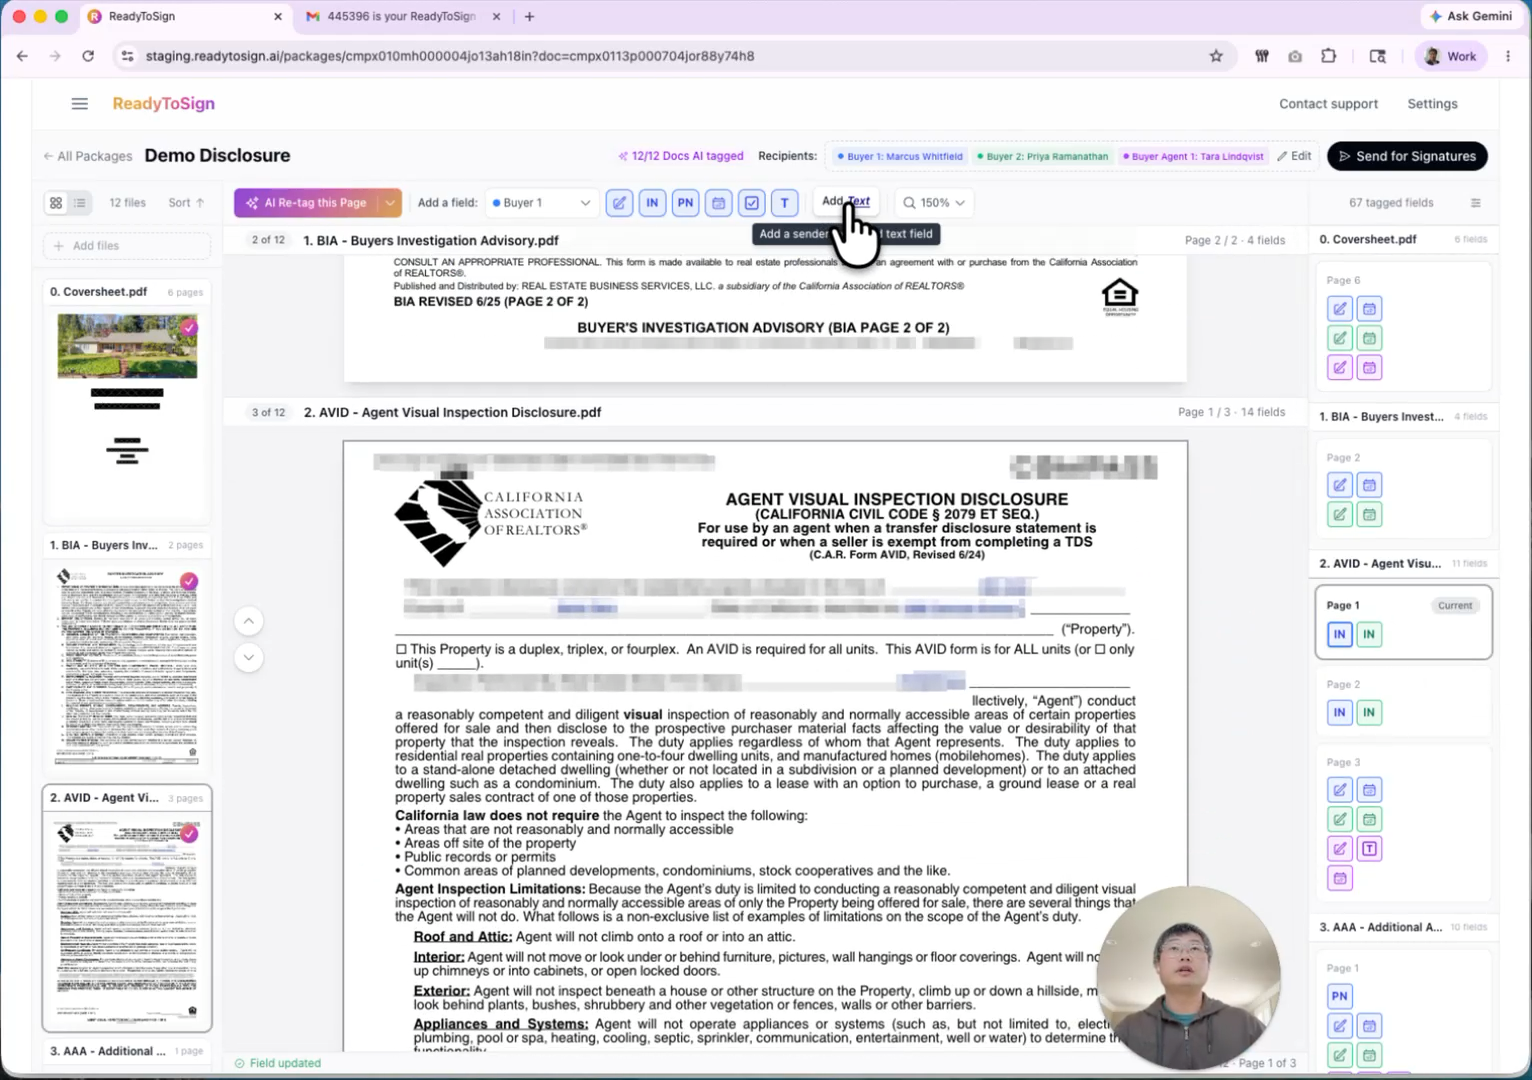
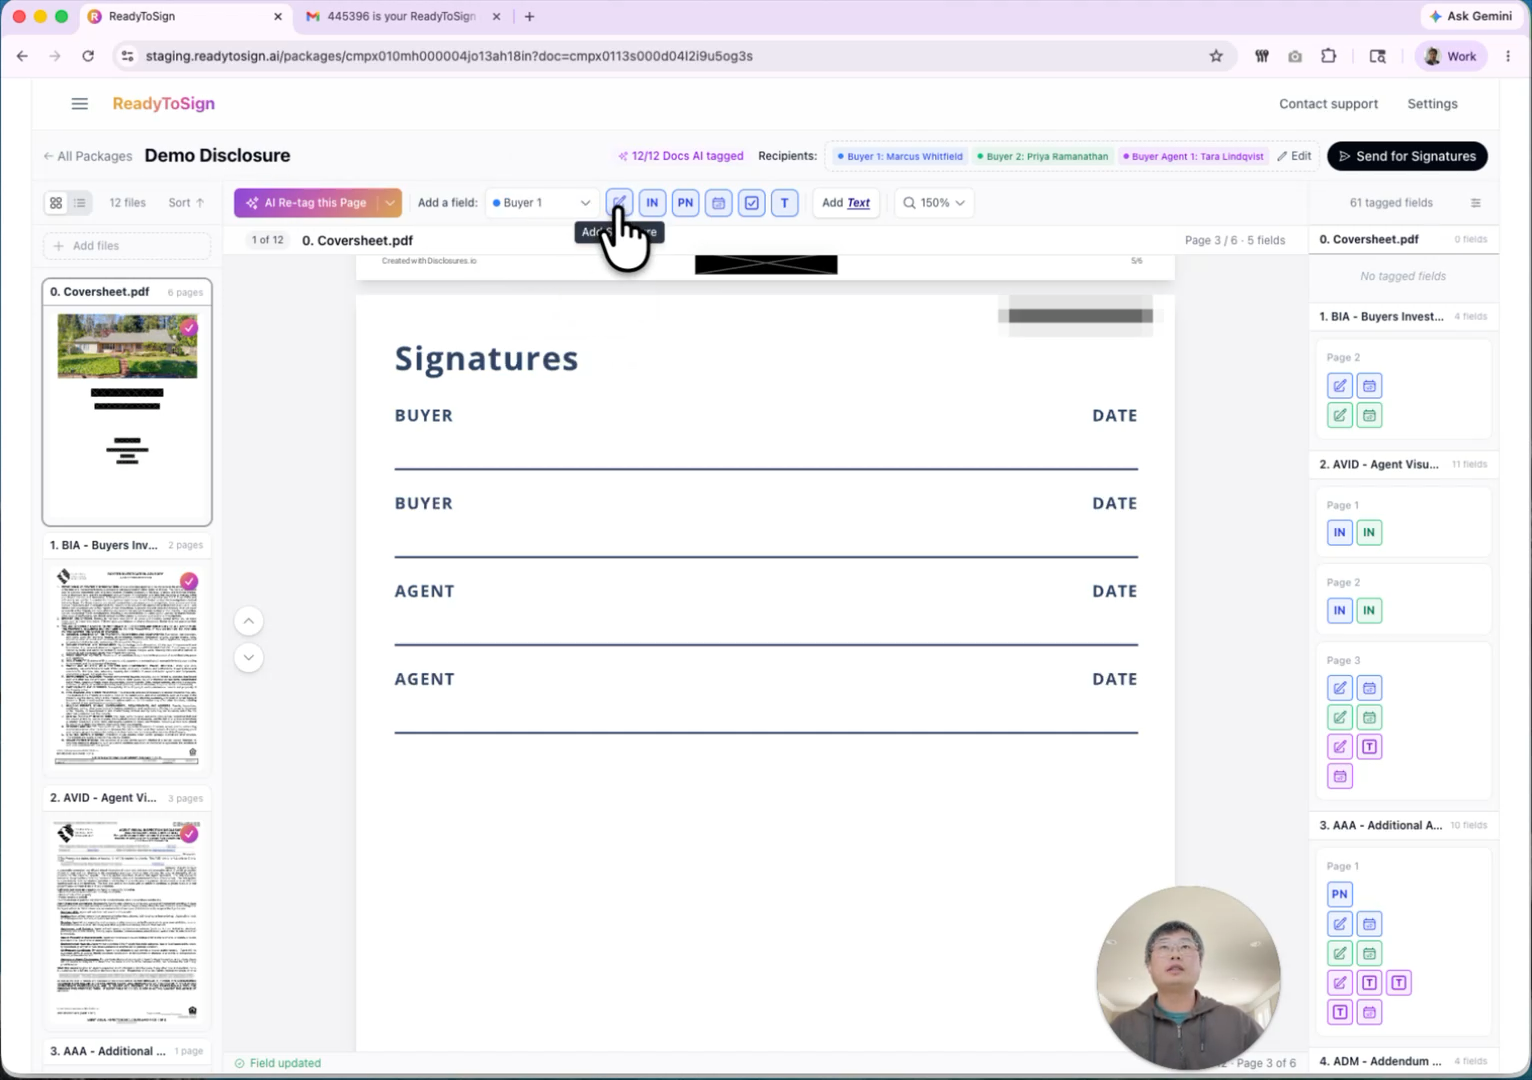
6. Manually add missing fields
Sometimes — especially on heavily redacted or scanned pages — the AI misses a section. Use the editing toolbar at the top of the PDF view to add fields by hand:
- Pick the signer the field belongs to (e.g. Buyer 1).
- Choose a field type: Signature, Initials, Print name, Date, Checkbox, or Text field.
- Click to drop it onto the page, then drag to position.
- Resize by dragging the edges — for example, make a signature box wider or a date field taller.
Speed up with copy, paste, and batch-assign
- Select a field and press
⌘C/⌘V(Ctrl on Windows) to duplicate it, then drag to the new location. - Multi-select several fields and reassign all of them to a different signer in one action — handy when you realize a whole row should belong to Buyer 2 instead of Buyer 1.
7. Add text and other annotations
You can also drop plain text directly onto a PDF — useful for filling in information that isn’t a signing field:
- Click Add text in the editing toolbar.
- Click where you want the text to appear and start typing.
- Adjust font size and style from the popup to match the surrounding document.