BoldSign is built into ReadyToSign — no separate account, no extra subscription. This tutorial covers the full send lifecycle: starting your trial, sending through BoldSign, tracking status, revoking and re-sending when something needs to change, sending an amendment for a single file, and downloading the signed package.
If you’re using DocuSign instead, see Tutorial 4 — Send for signature with DocuSign. Everything else in this tutorial — tracking, revoking, amendments, downloads — works the same either way.
1. Start your free trial
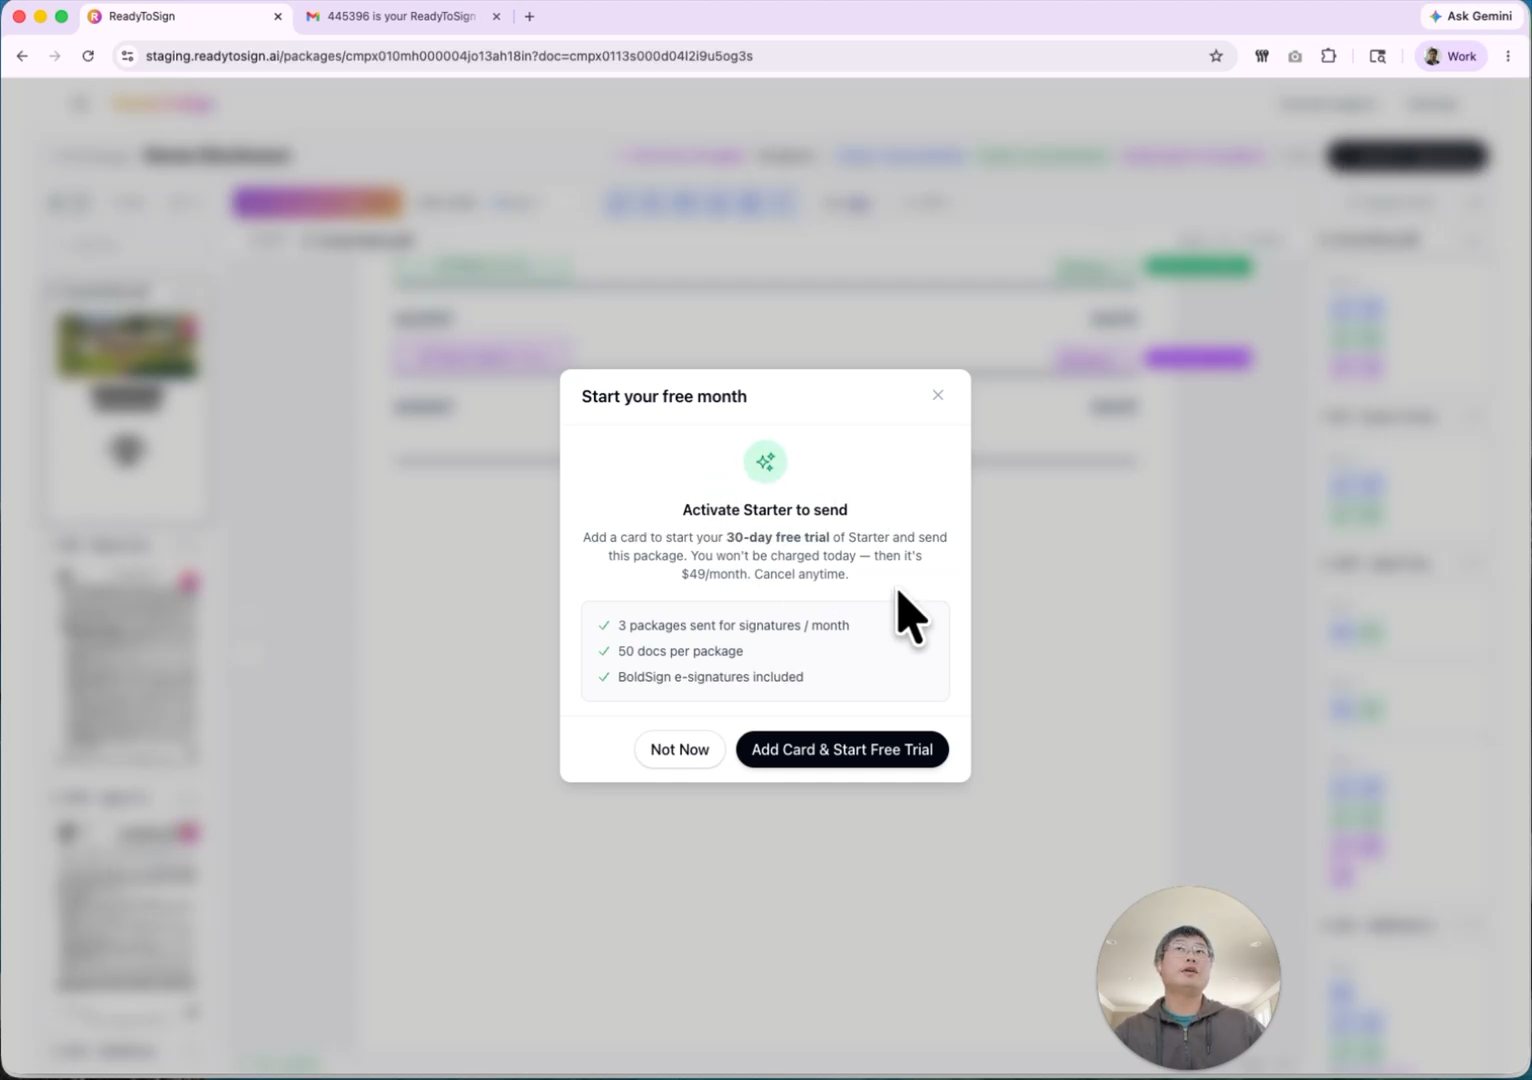
When you click Send for signature for the first time, ReadyToSign asks you to pick a plan.
- Choose the Starter plan — it comes with a 30-day free trial.
- Click Add a card to continue to Stripe.
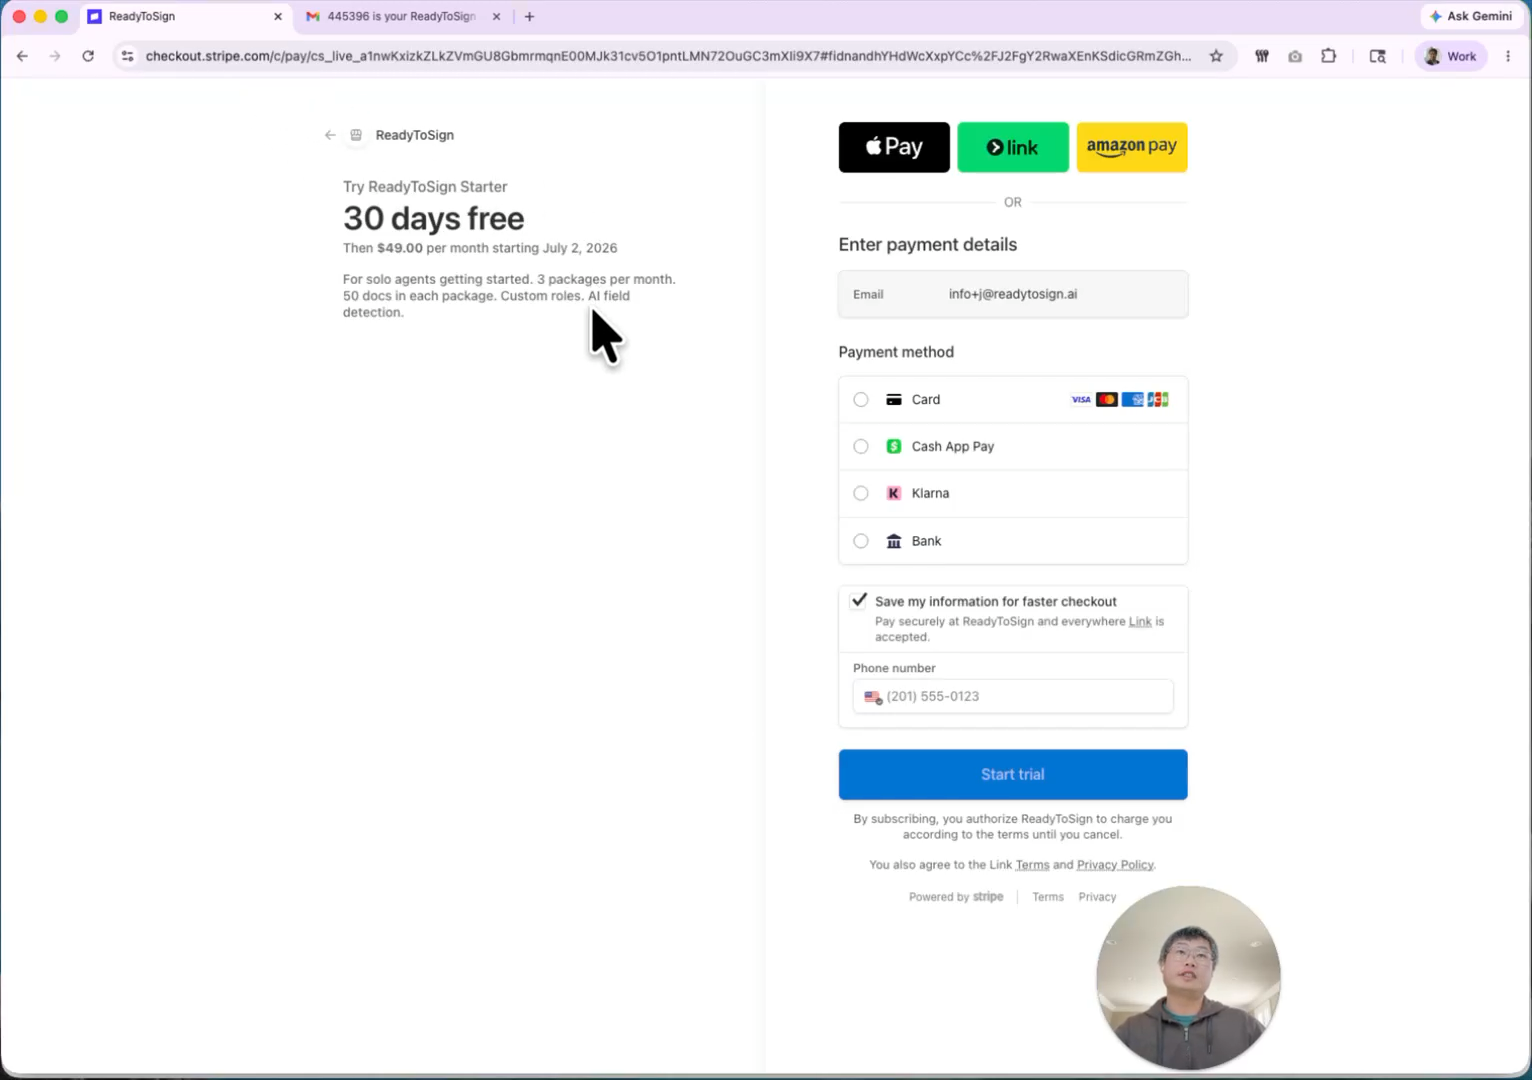
- Enter your card details in Stripe’s secure checkout and confirm.
- You’ll land back on ReadyToSign, ready to send.
2. Pick your signature service
On the send screen you’ll choose between BoldSign and DocuSign.
- BoldSign — free and built into every plan. Best for most agents.
- DocuSign — use this if your brokerage requires it or if you already have a DocuSign account.
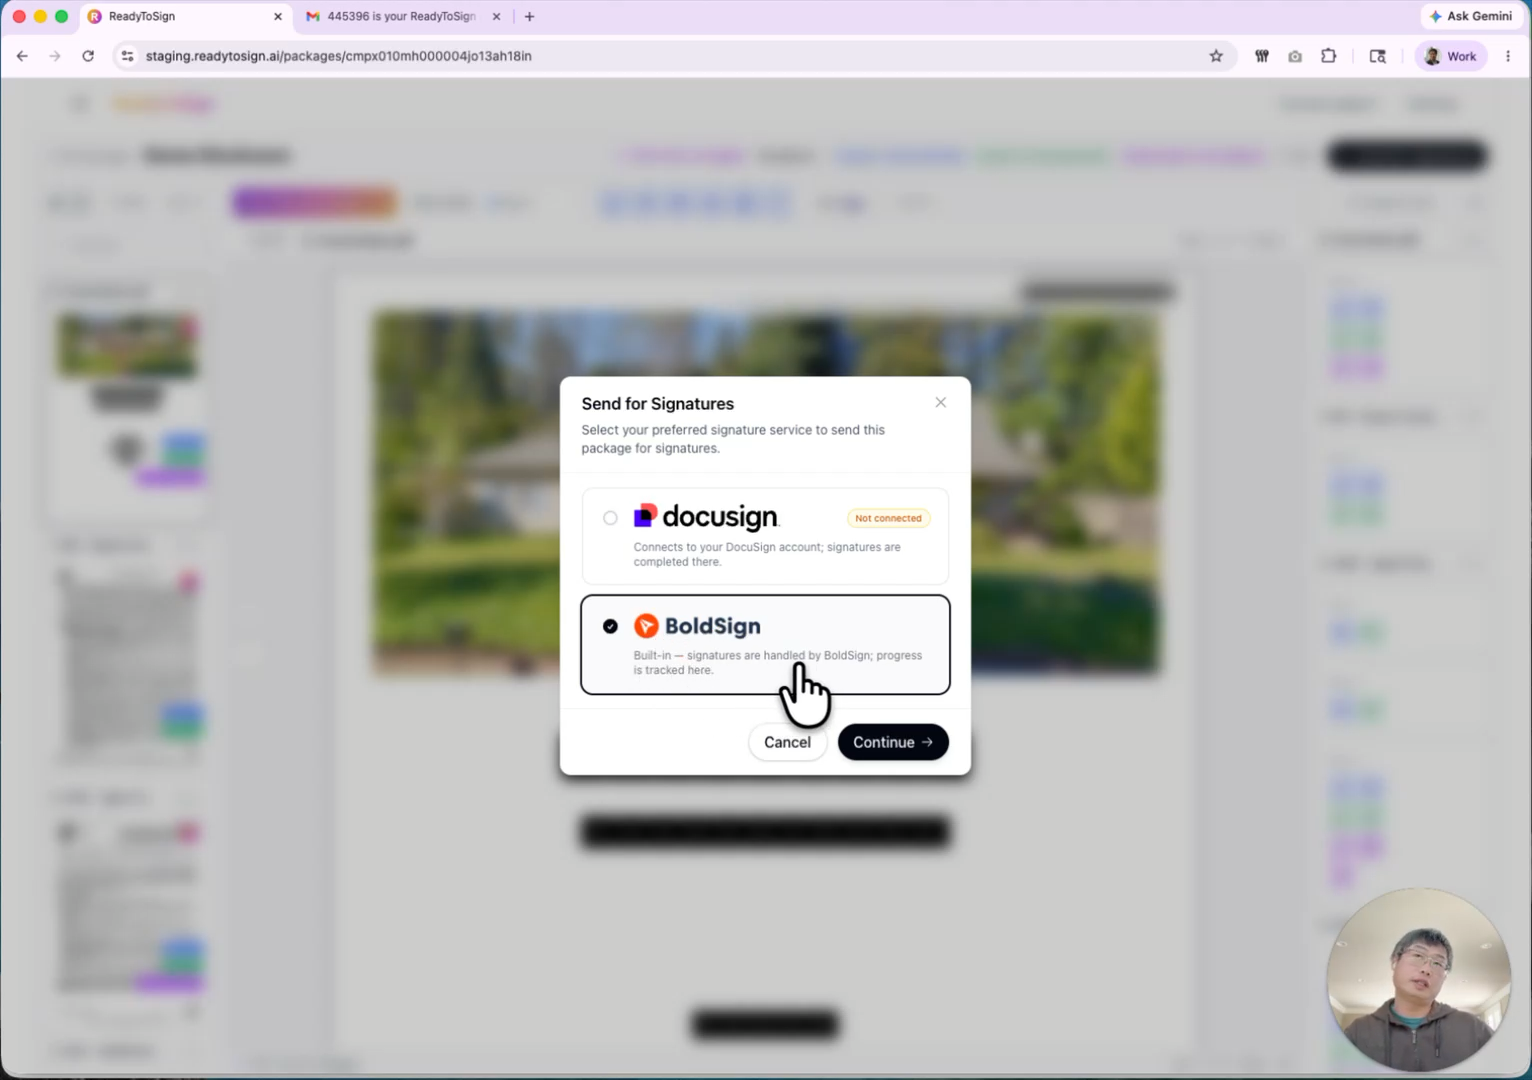
For this tutorial, select BoldSign and click Continue.
3. Verify your sender email (BoldSign only)
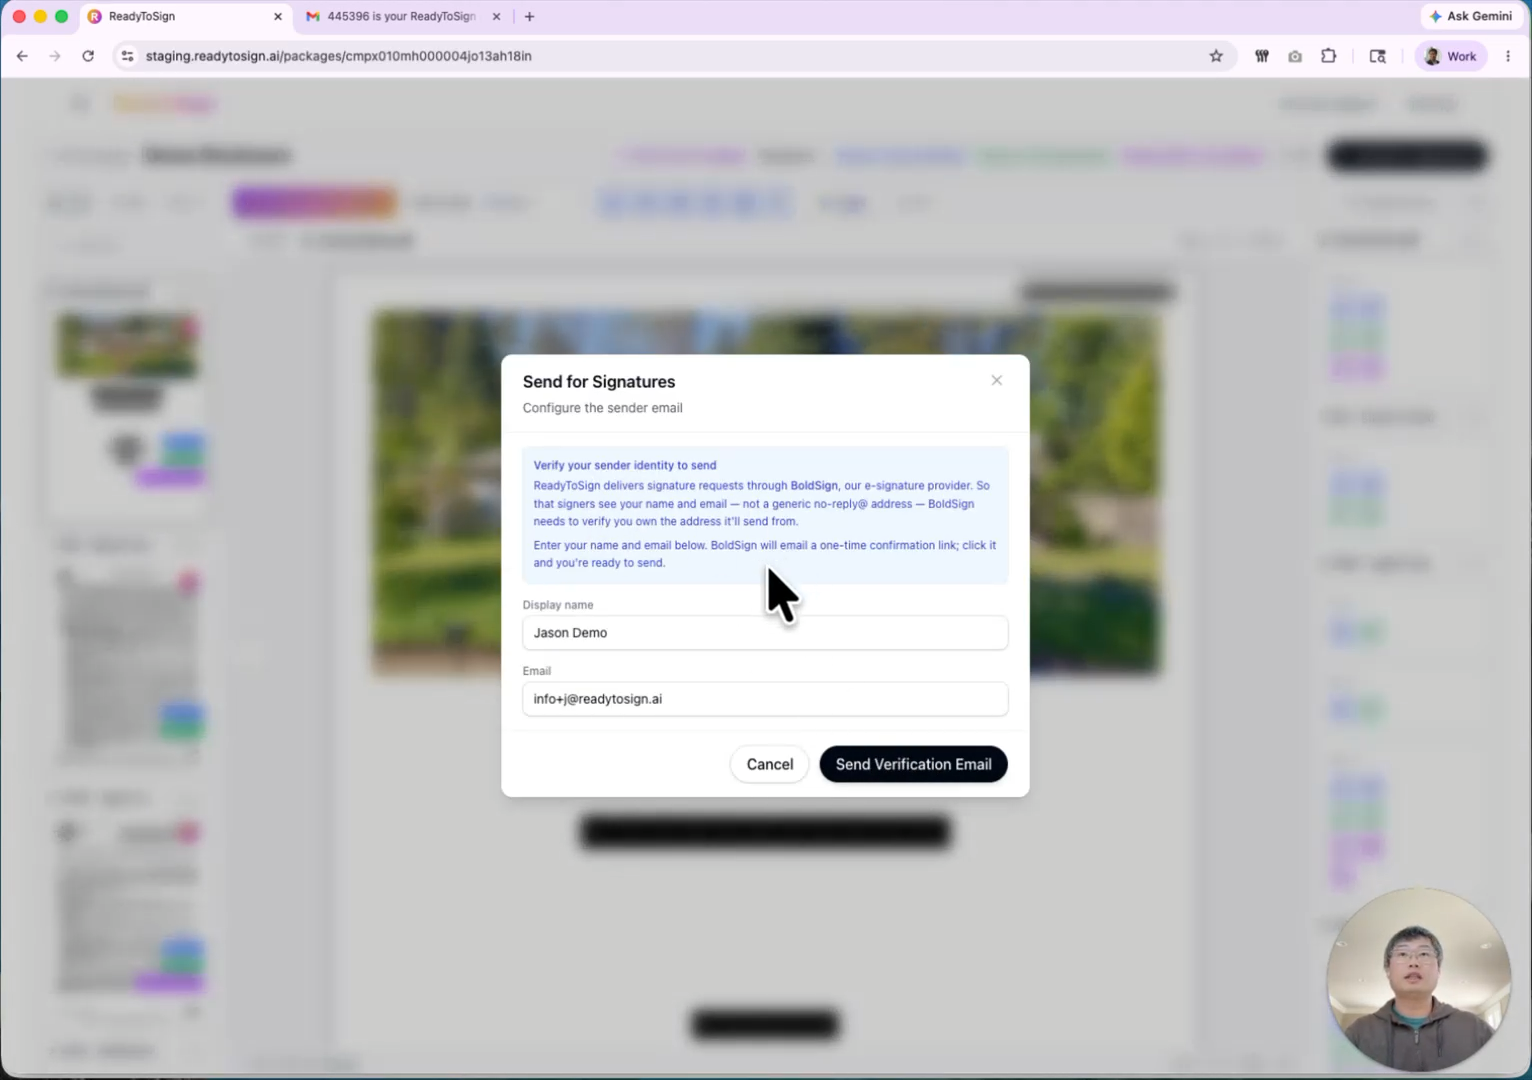
BoldSign sends signing requests on your behalf, so the first time you use it, it confirms you actually own the email address.
- Click Send verification.
- Open your inbox and find the email from BoldSign.
- Click Approve in the email.
You’re now verified — this is a one-time step. Future sends skip straight to the review screen.
4. Review and send
You’ll land on the send review screen. Confirm the four things that matter most:
- Sender — your name and email.
- Recipients — every signer with their email. You can still edit or delete recipients here.
- Custom message — optional. Adds a note to the signing request email.
- Documents and fields — every file and the number of fields it contains, so you can spot-check that nothing’s missing.
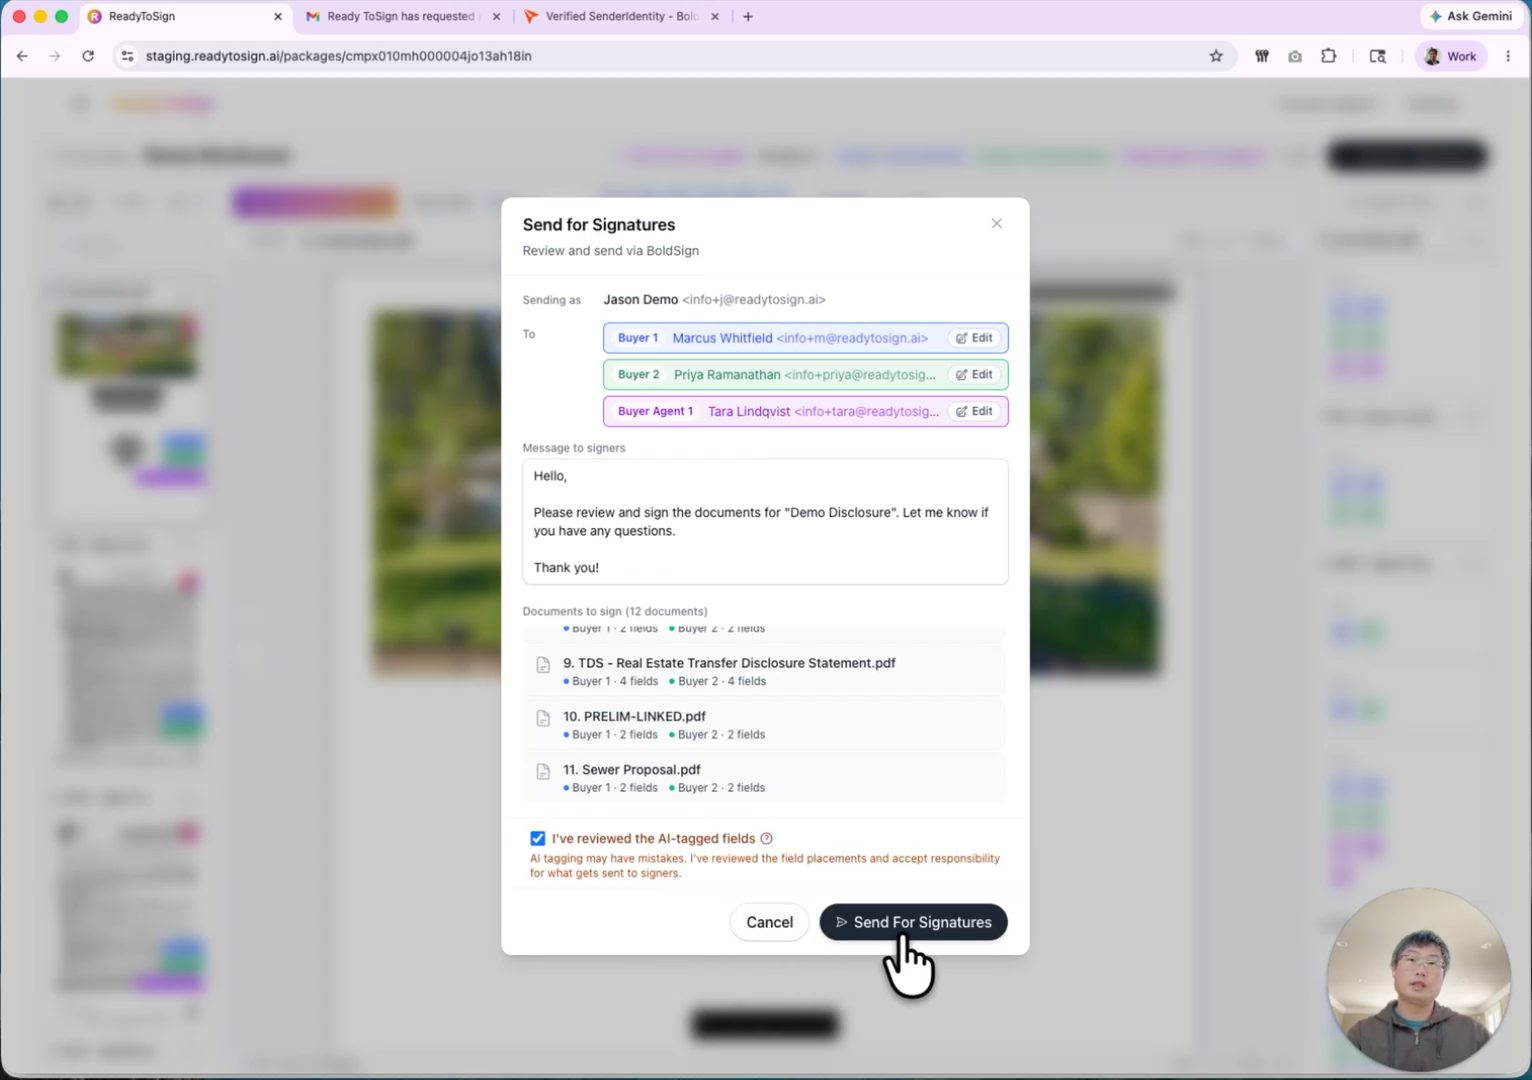
Once it looks right, check the box confirming you’ve reviewed the AI-tagged fields (you’re responsible for what you send), then click Send.
Behind the scenes, ReadyToSign packages the PDFs and the field positions and hands them to BoldSign, which prepares the signing experience for your recipients.
5. Set notification preferences
While the package prepares, choose how you want to be notified:
- When a recipient opens the package
- When a recipient signs
- When the package is completed
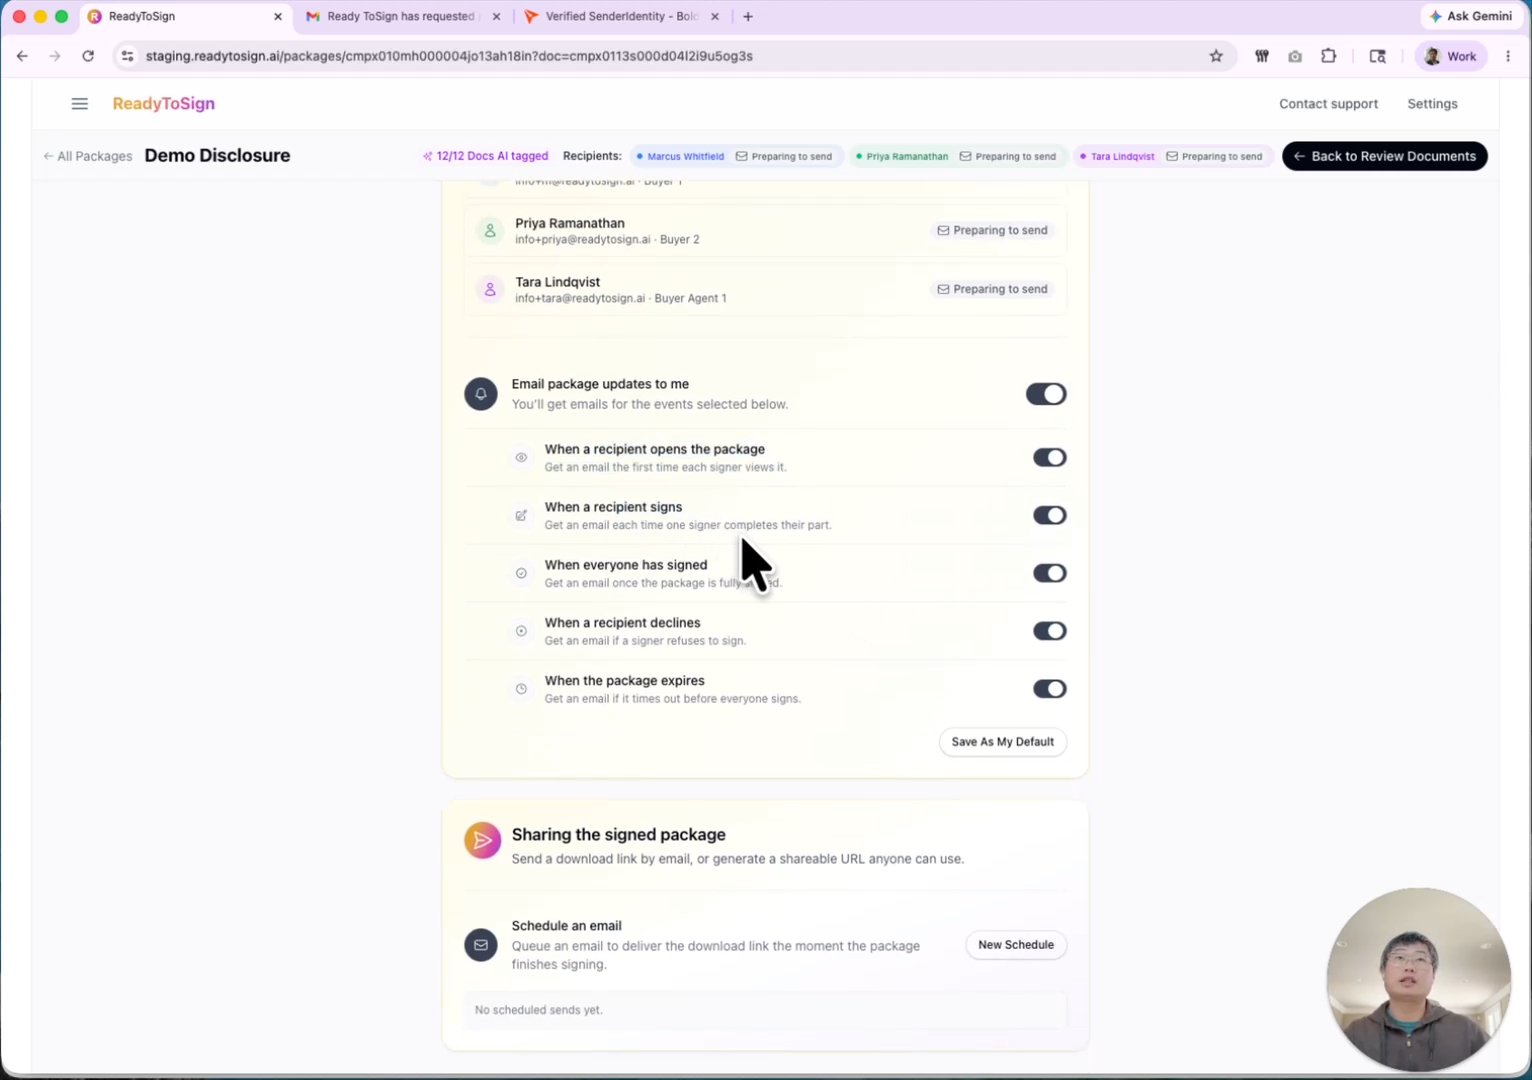
Click Save as default so you don’t have to set these again for future sends.
6. Auto-email the signed package
You can have ReadyToSign automatically email the signed package to another party — for example, the seller’s agent.
- Click Schedule email.
- Enter the recipient’s email.
- ReadyToSign includes a download link with a configurable expiration date and download limit.
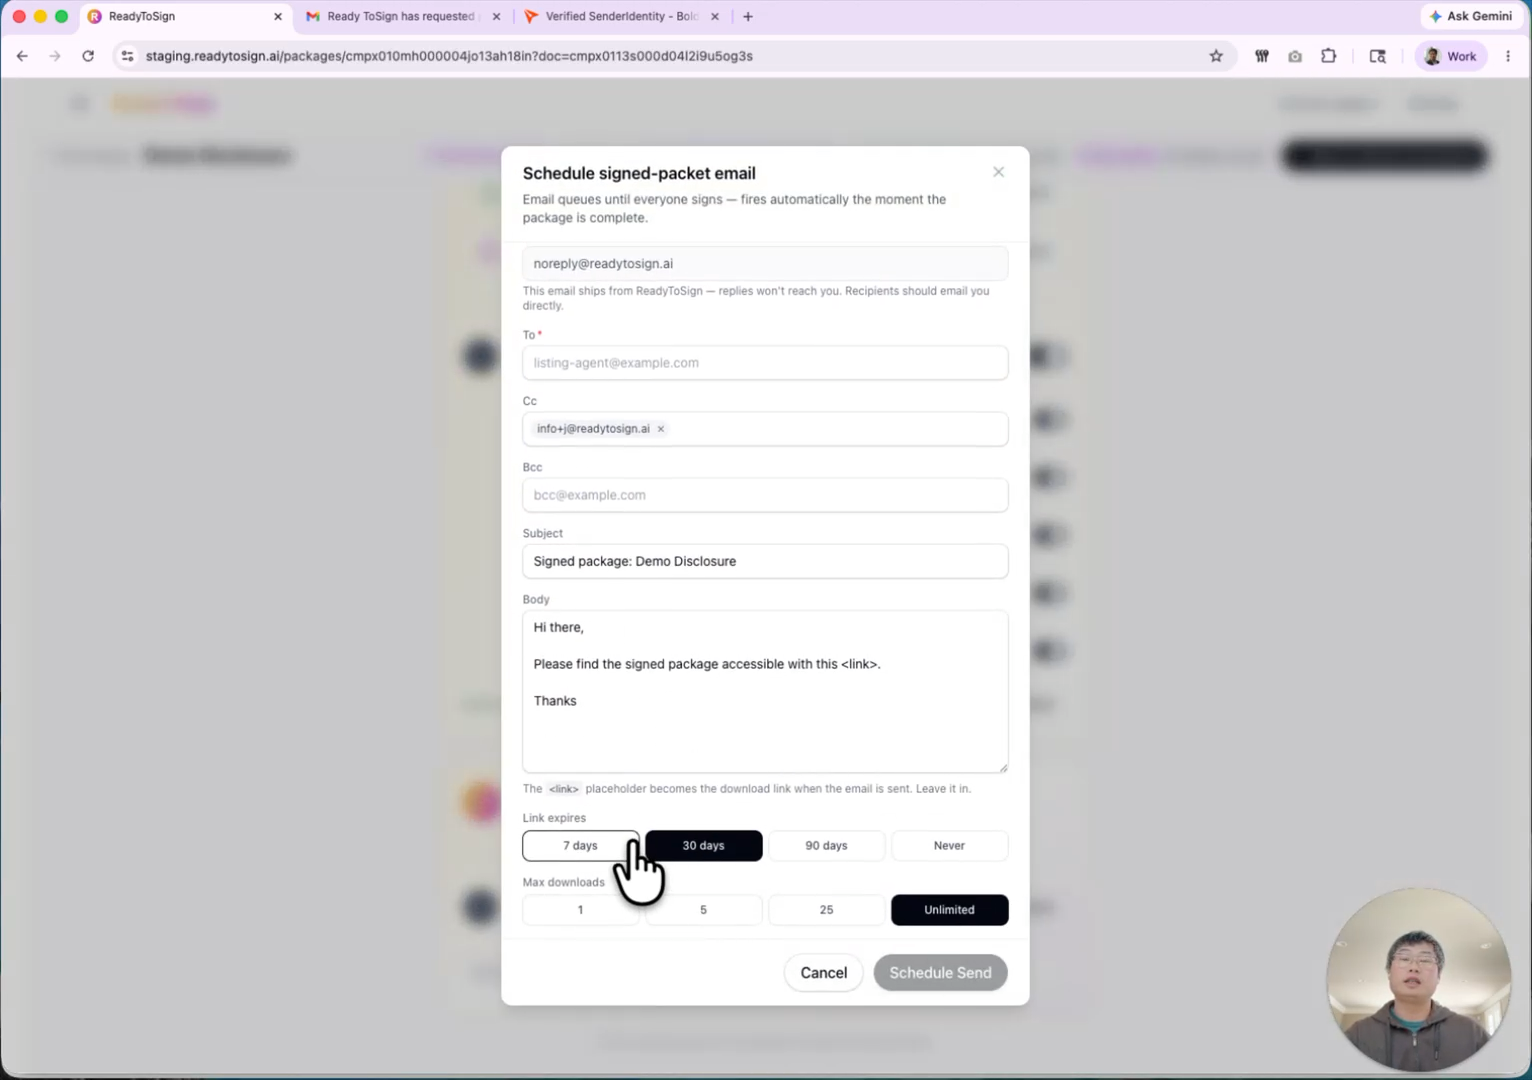
This is optional — skip it if you don’t need it. You can always send the package manually later.
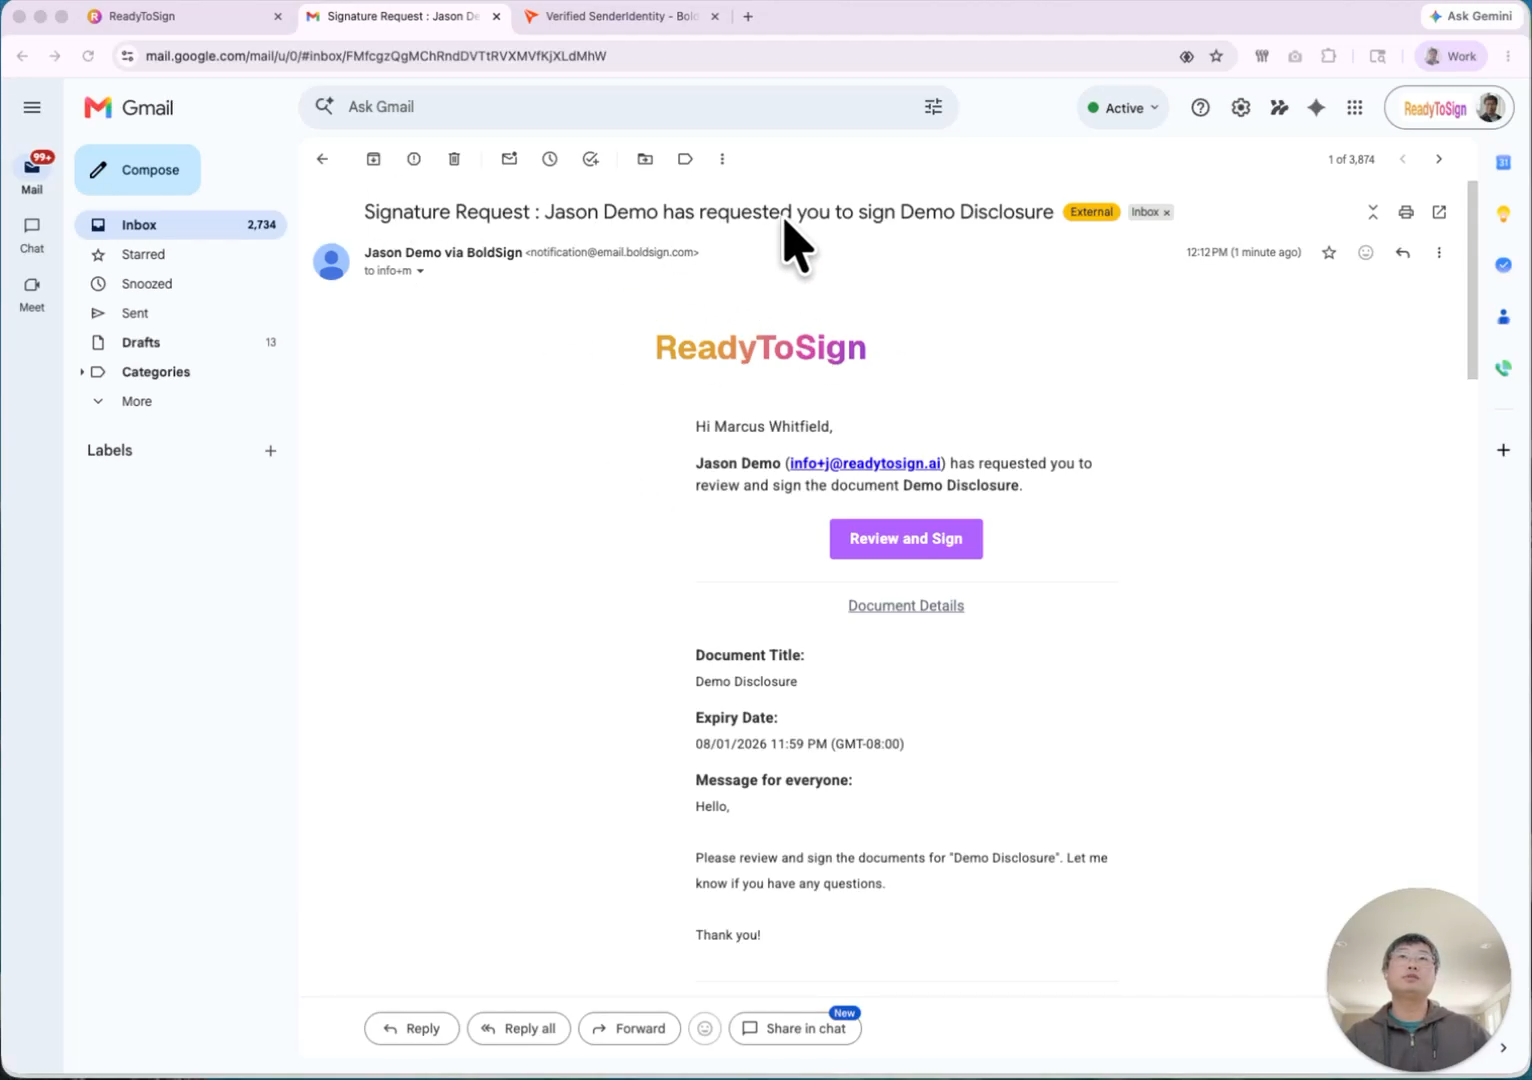
7. What recipients see
Once the package is ready, each recipient gets a signing email. From their side:
- The email subject reads something like “Jason requests you to sign Demo Disclosure.” Your custom message appears in the body.
- They click Review and Sign, which opens the document on BoldSign’s signing site.
- They agree to electronic signing and click Continue.
- They click each highlighted field to sign. Dates auto-populate; the next field arrow walks them through the rest.
- When they hit Finish, BoldSign confirms it back to ReadyToSign.
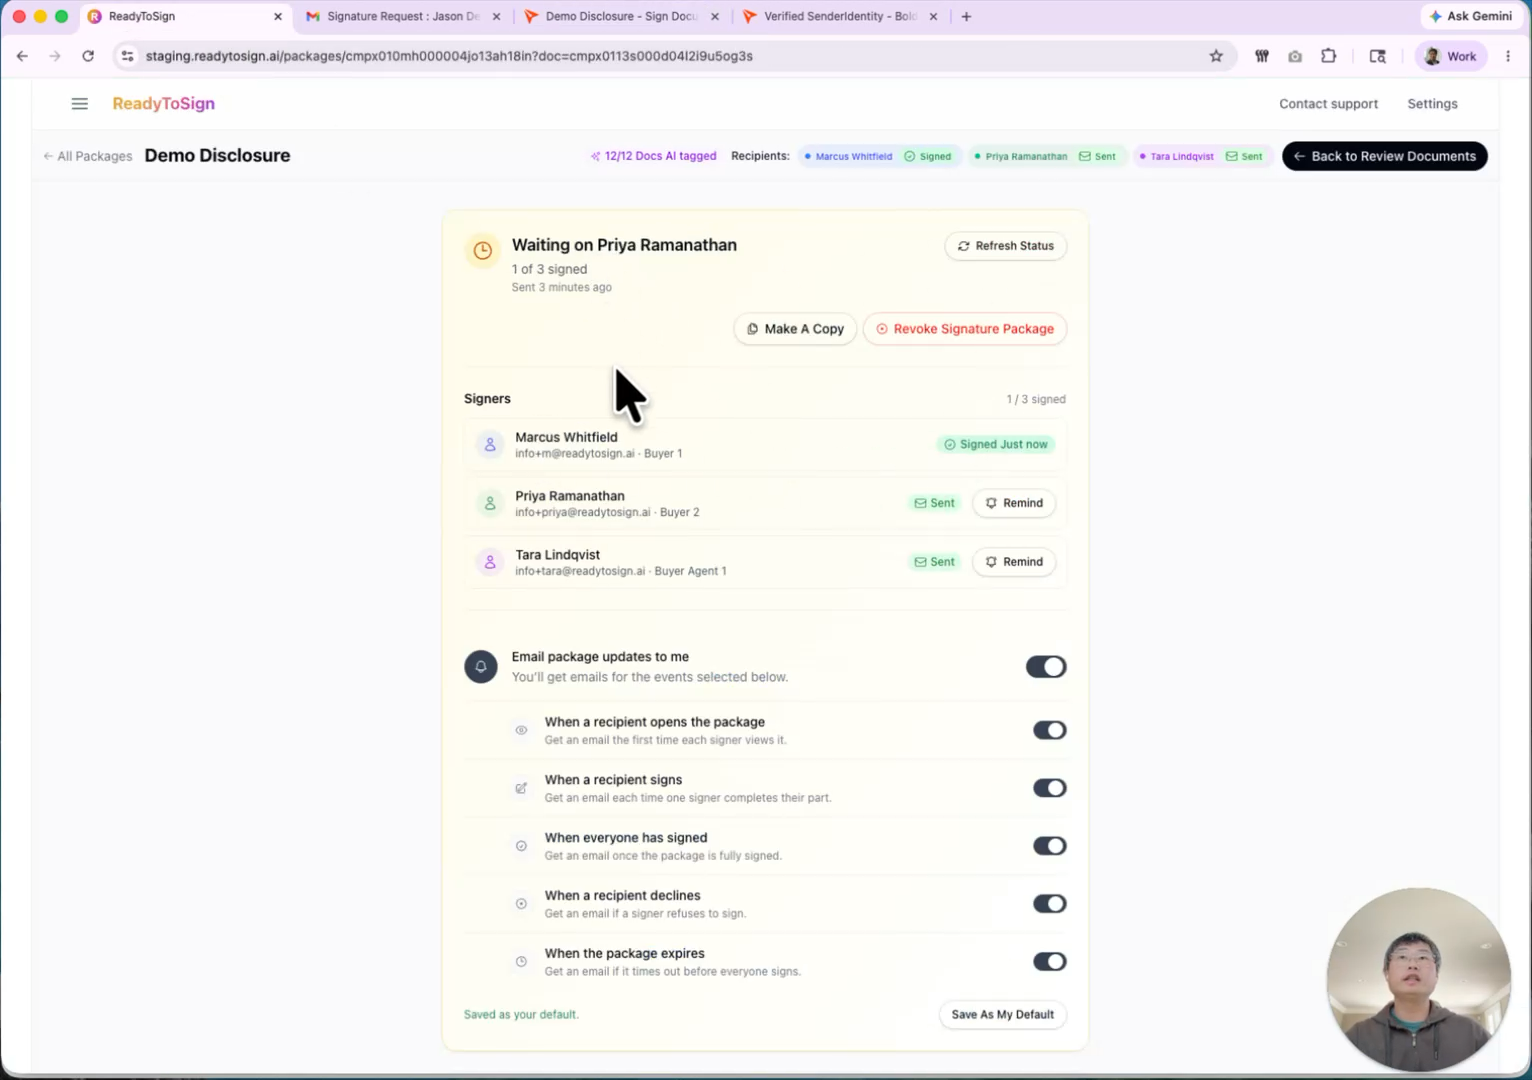
8. Track status on your dashboard
Your ReadyToSign dashboard shows live signing status:
- Each recipient’s name with a signed or pending state
- The timestamp of each signature
- A status banner at the top once everyone has finished
Click the package on the dashboard to drill into the signature status page at any time.
9. Re-review the documents after sending
From the signature status page, click Back to review document to see the package again. The PDF view opens in read-only mode — once sent, fields are locked. This is useful for double-checking what you sent without risking changes.

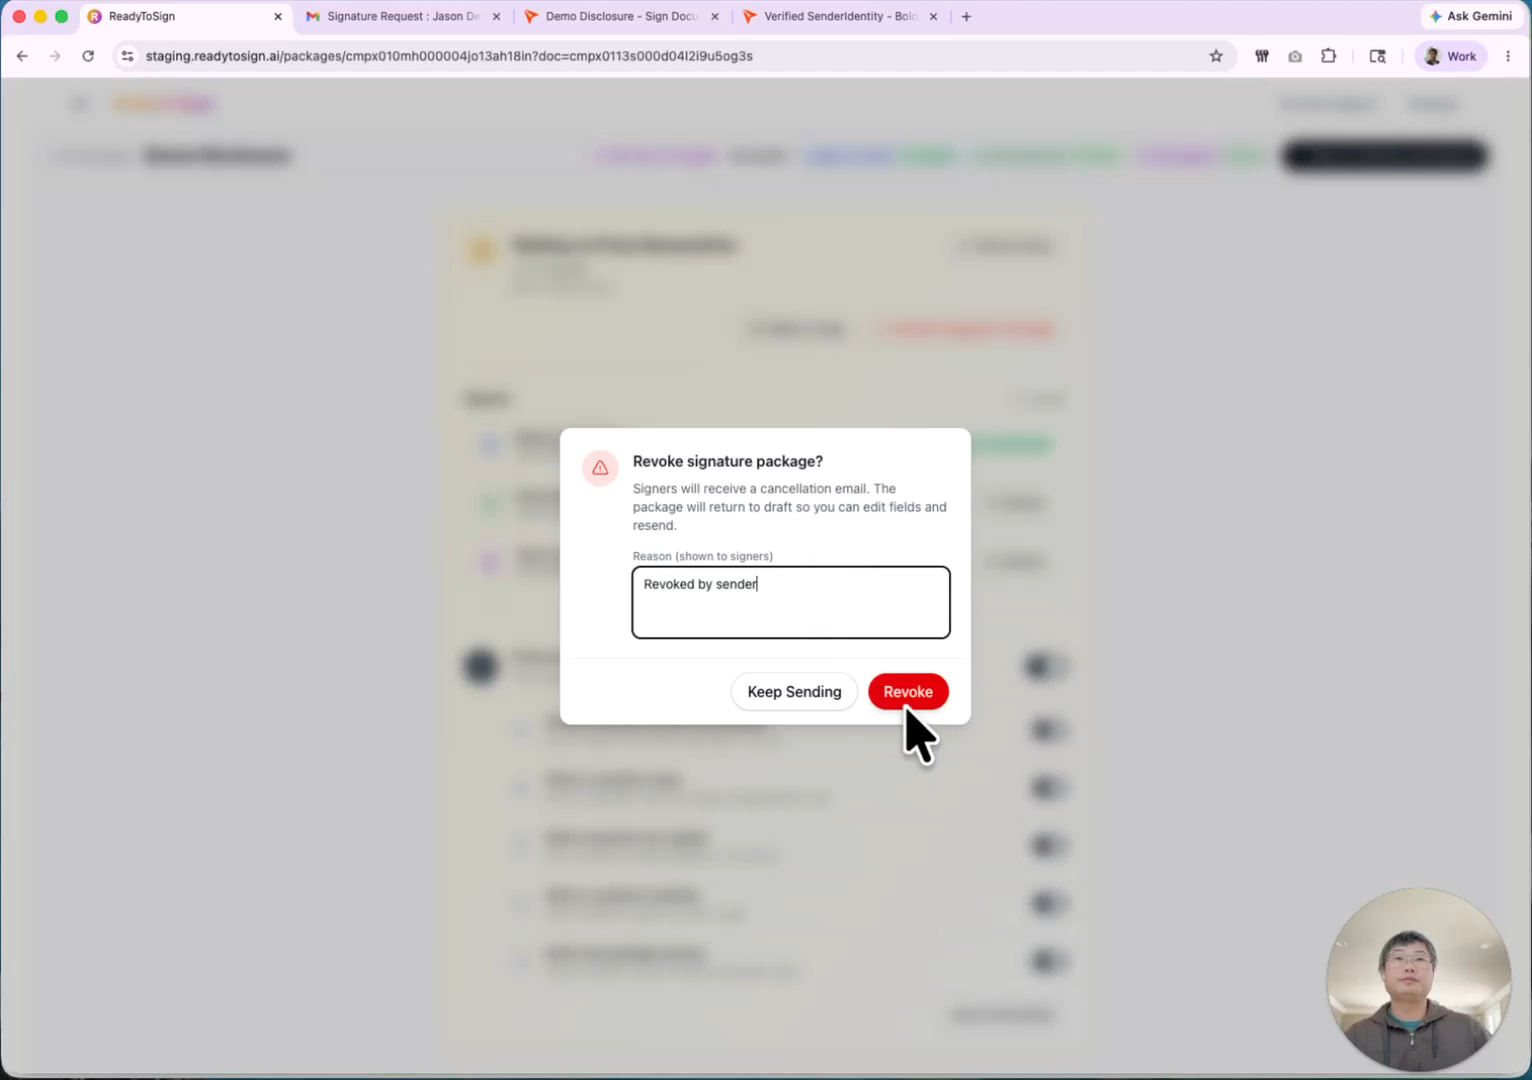
10. Revoke and edit a sent package
If you need to fix something after sending — say, you tagged a signature where you wanted a Print name — you can revoke the package, edit, and re-send:
- On the signature status page, click Revoke.
- Enter a reason.
- Recipients receive an email letting them know the request was revoked. Any in-progress signing is terminated automatically.
- The package returns to edit mode. Make your changes — for example, multi-select the signature fields, swap them to Print name, and resize.
- Click Send for signature again. Email verification is not required this time — it’s still saved from before.
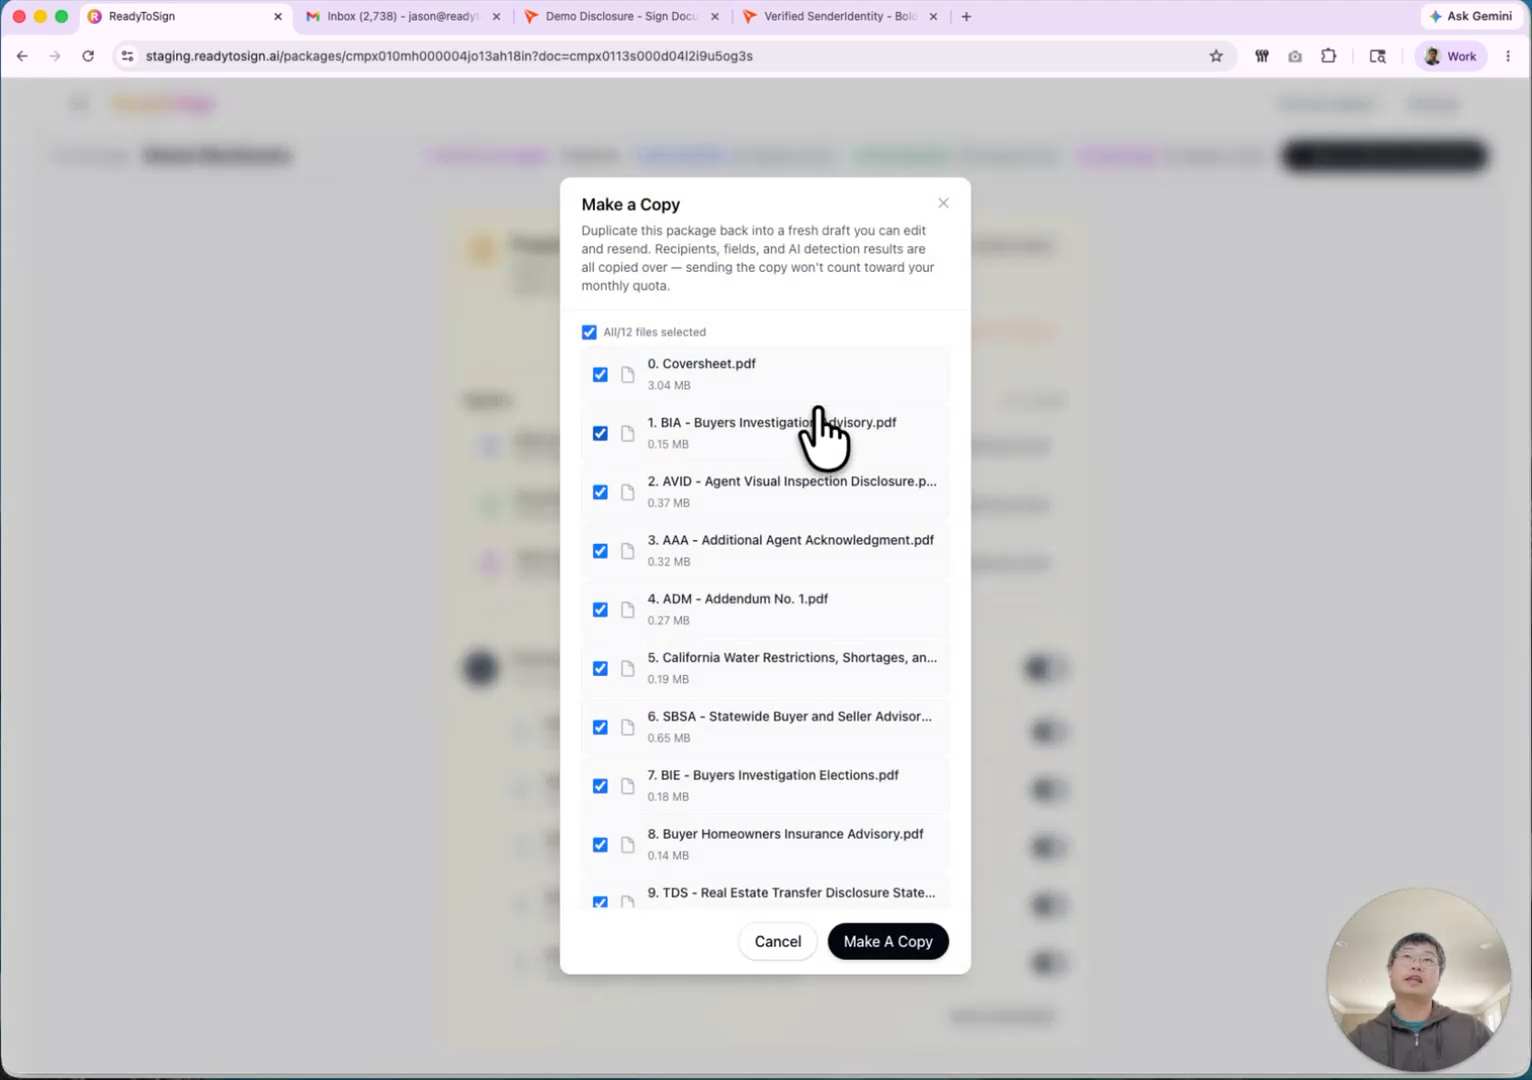
11. Make a copy or amendment
When you need to re-sign just one file — without making every recipient sign everything again — use Make a copy.
- From the package page, click Make a copy.
- Choose either: Duplicate the entire package (keeps all your edits), or select a specific file to amend.
- ReadyToSign creates a new package — for example, “Amendment to Demo Disclosure” — containing only the file you picked.
- Edit and send like a normal package.
This is the fastest way to handle late corrections without restarting the whole signing flow.
12. Download the signed package
Once every recipient has signed, the dashboard status becomes All signed and download options unlock:
- Individual files (ZIP) — every signed PDF as separate files, packaged in a ZIP.
- Combined PDF — all files merged into one PDF in the correct order.
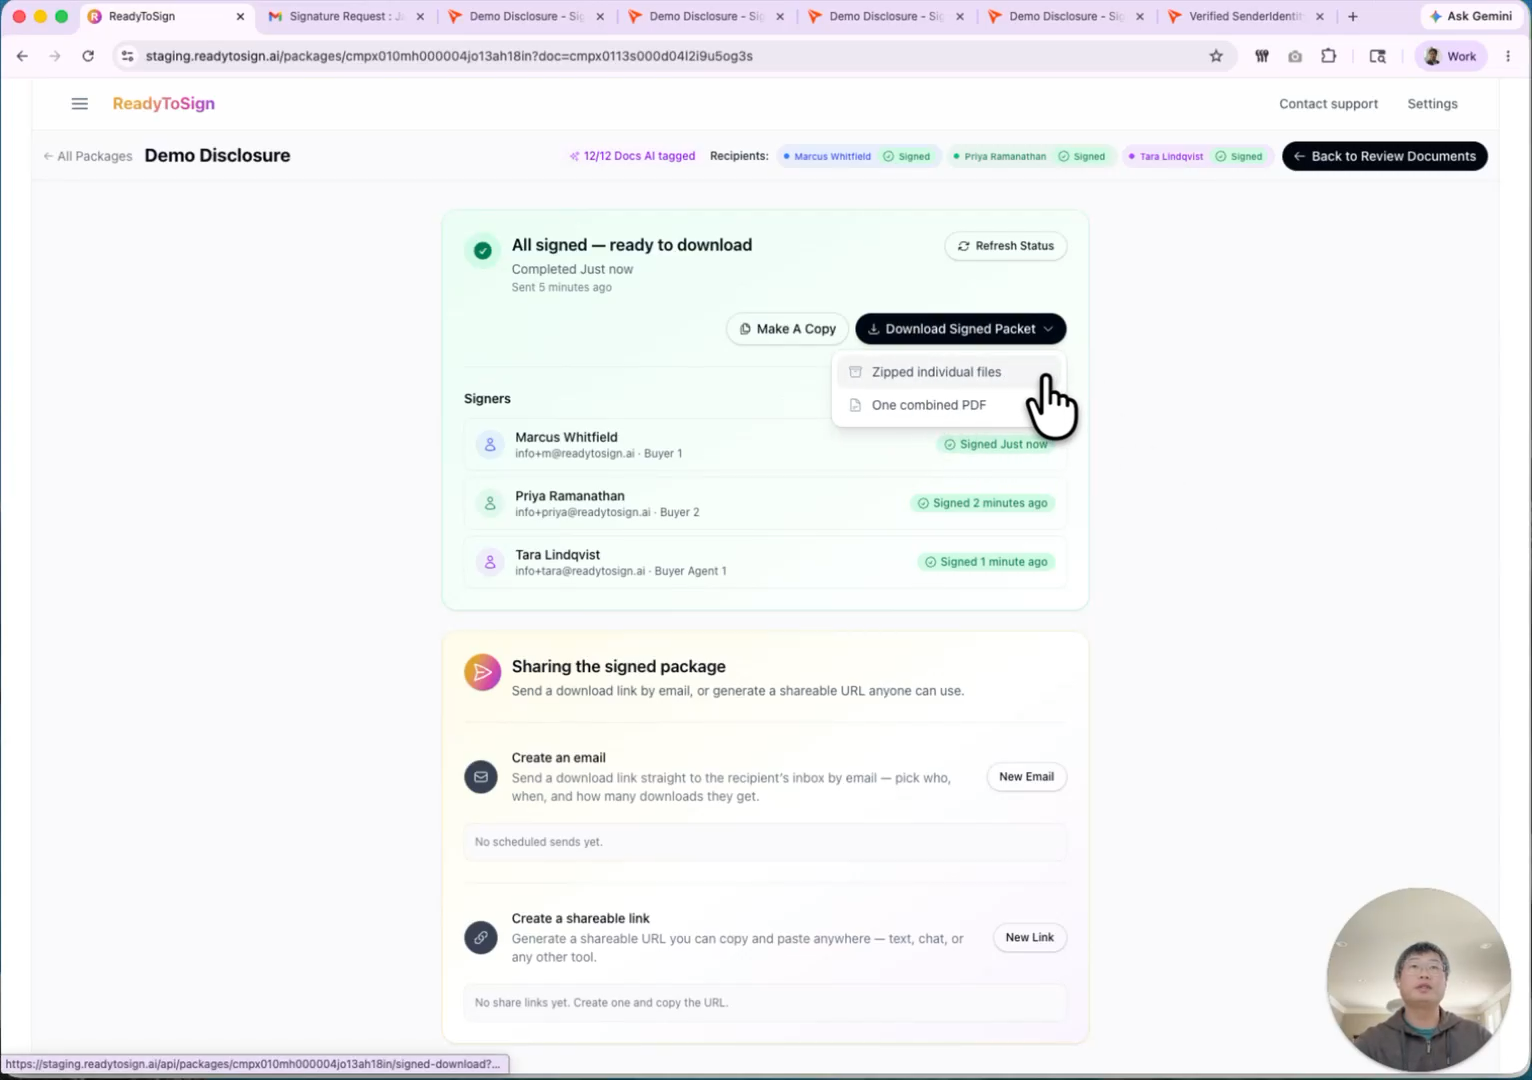
Click your preferred format and the file downloads to your computer. Both include all signatures correctly placed.